Navigate to “Manage Beneficiaries” Page
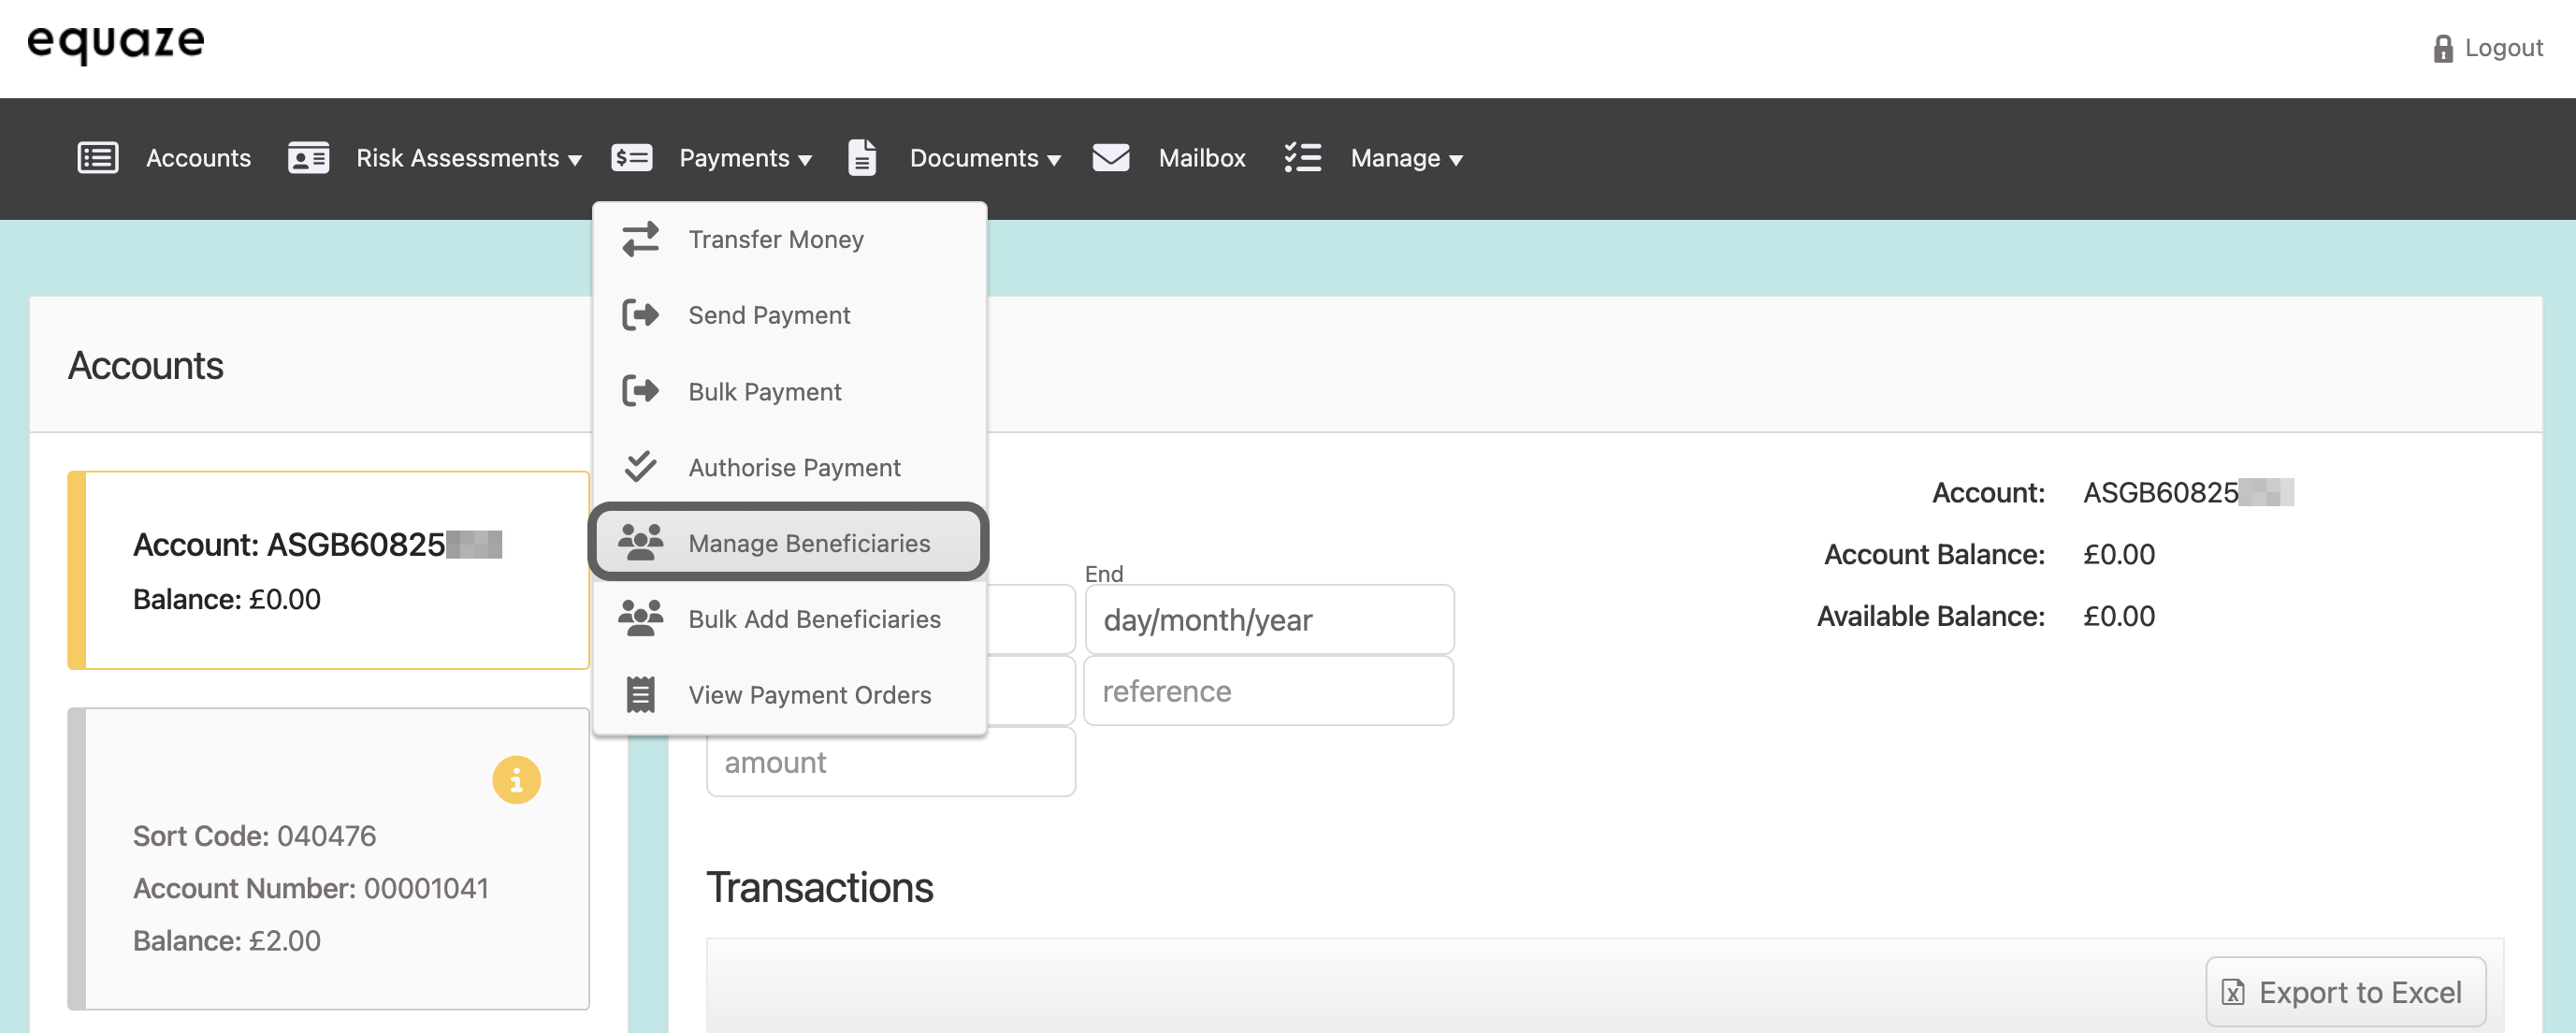
Click on the “Payments” dropdown situated in the header of the website.

Select the “Manage beneficiaries” option from the dropdown.
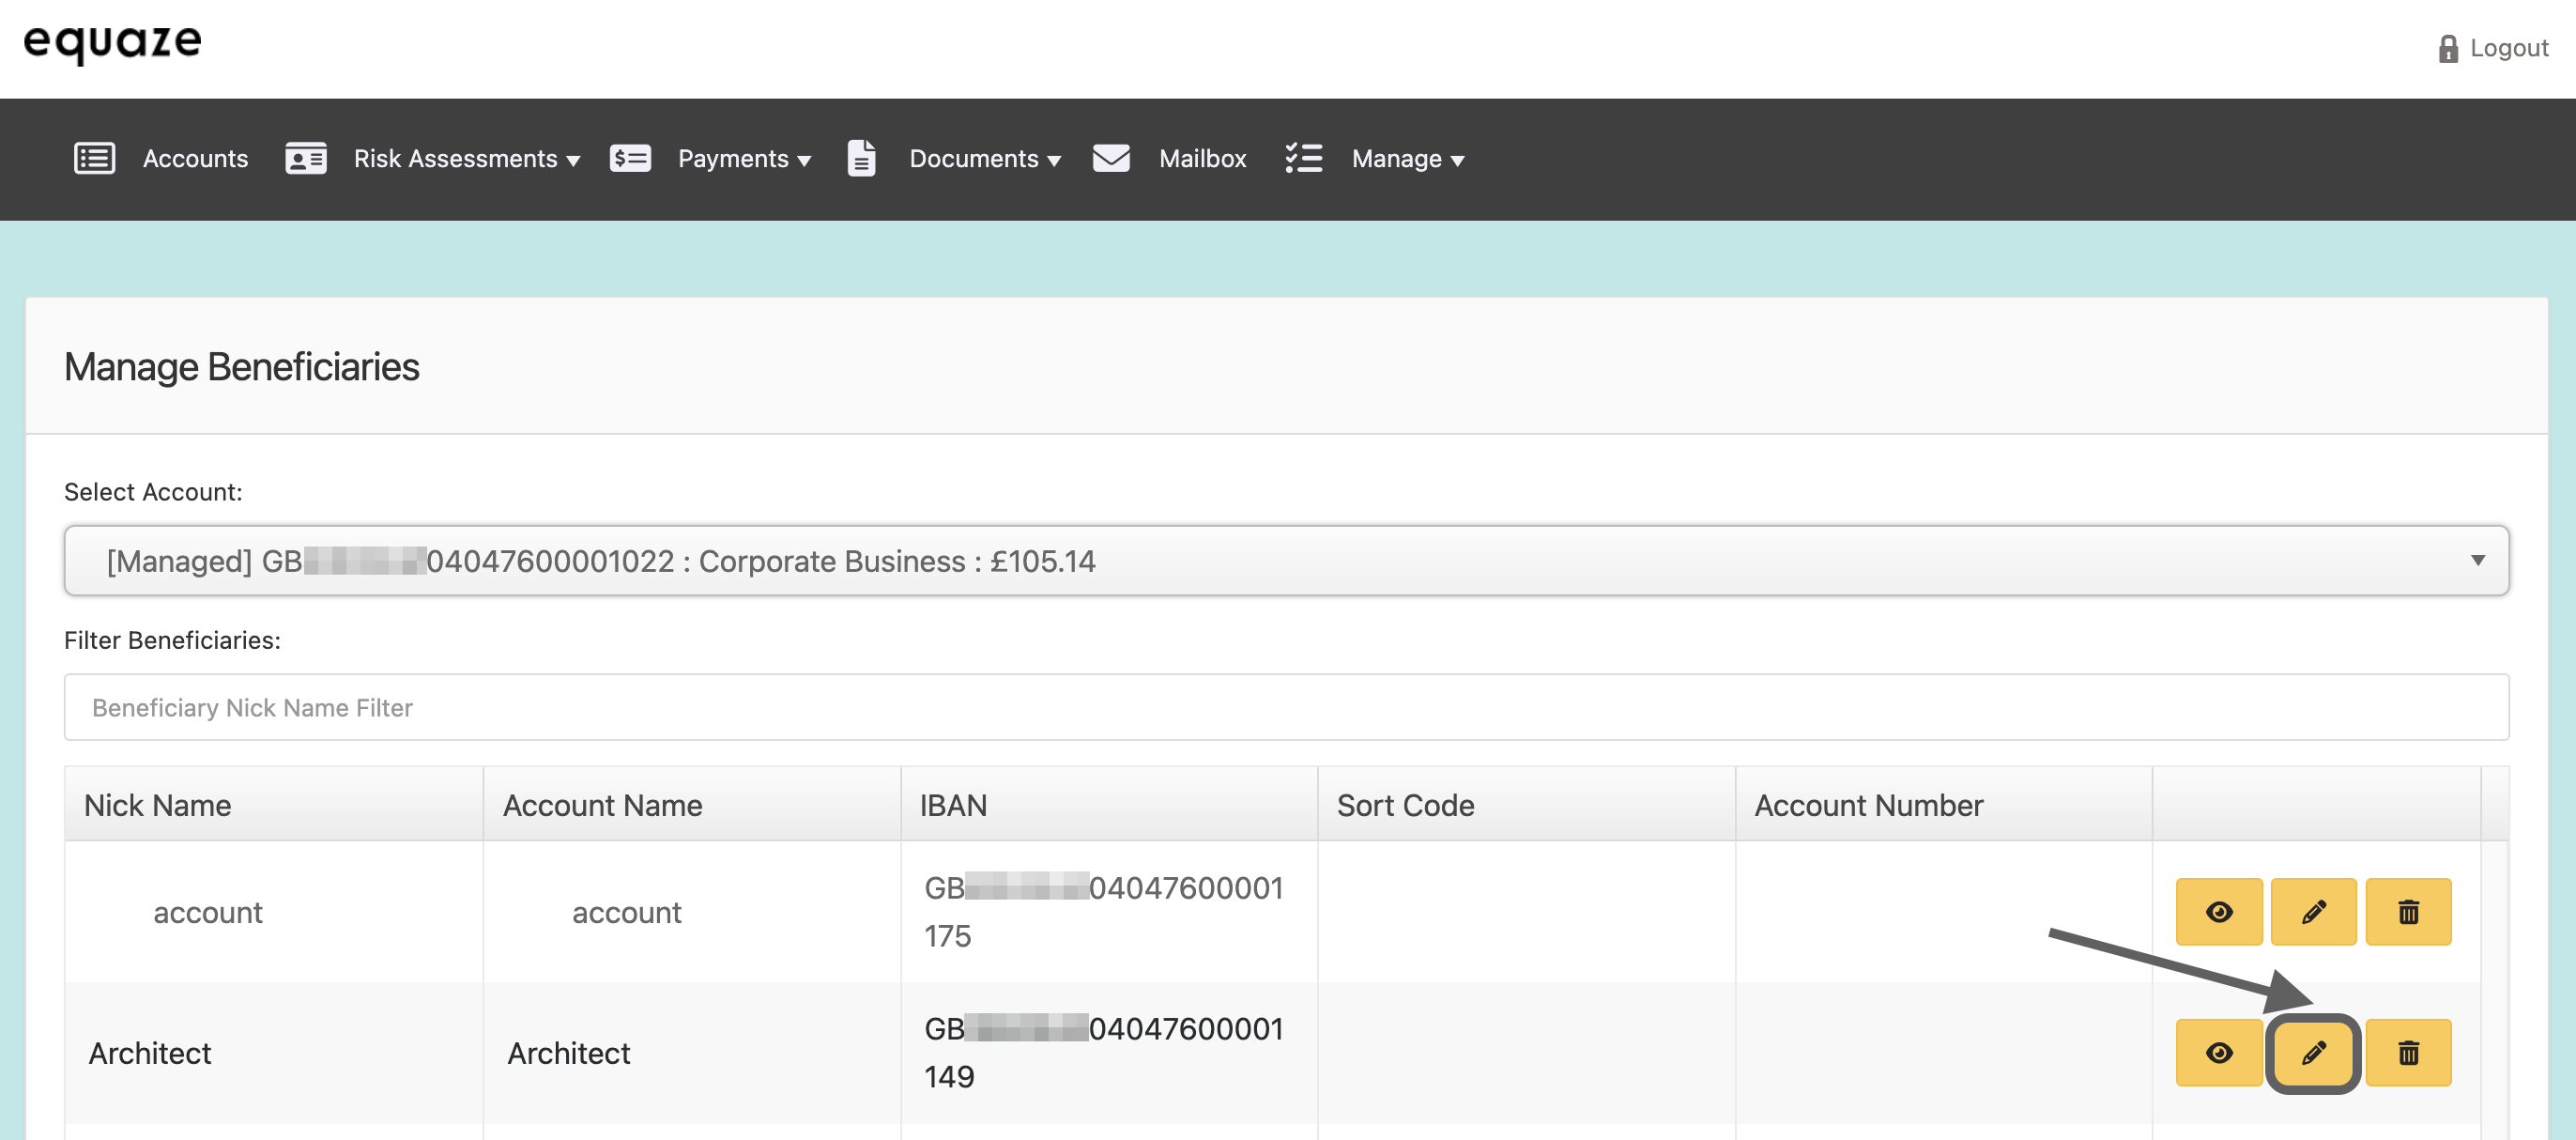
- Then, the “Manage beneficiaries” page should be opened.
Select Account and Edit Beneficiary
Click on the “Select account” dropdown list on the “Manage beneficiaries” page.
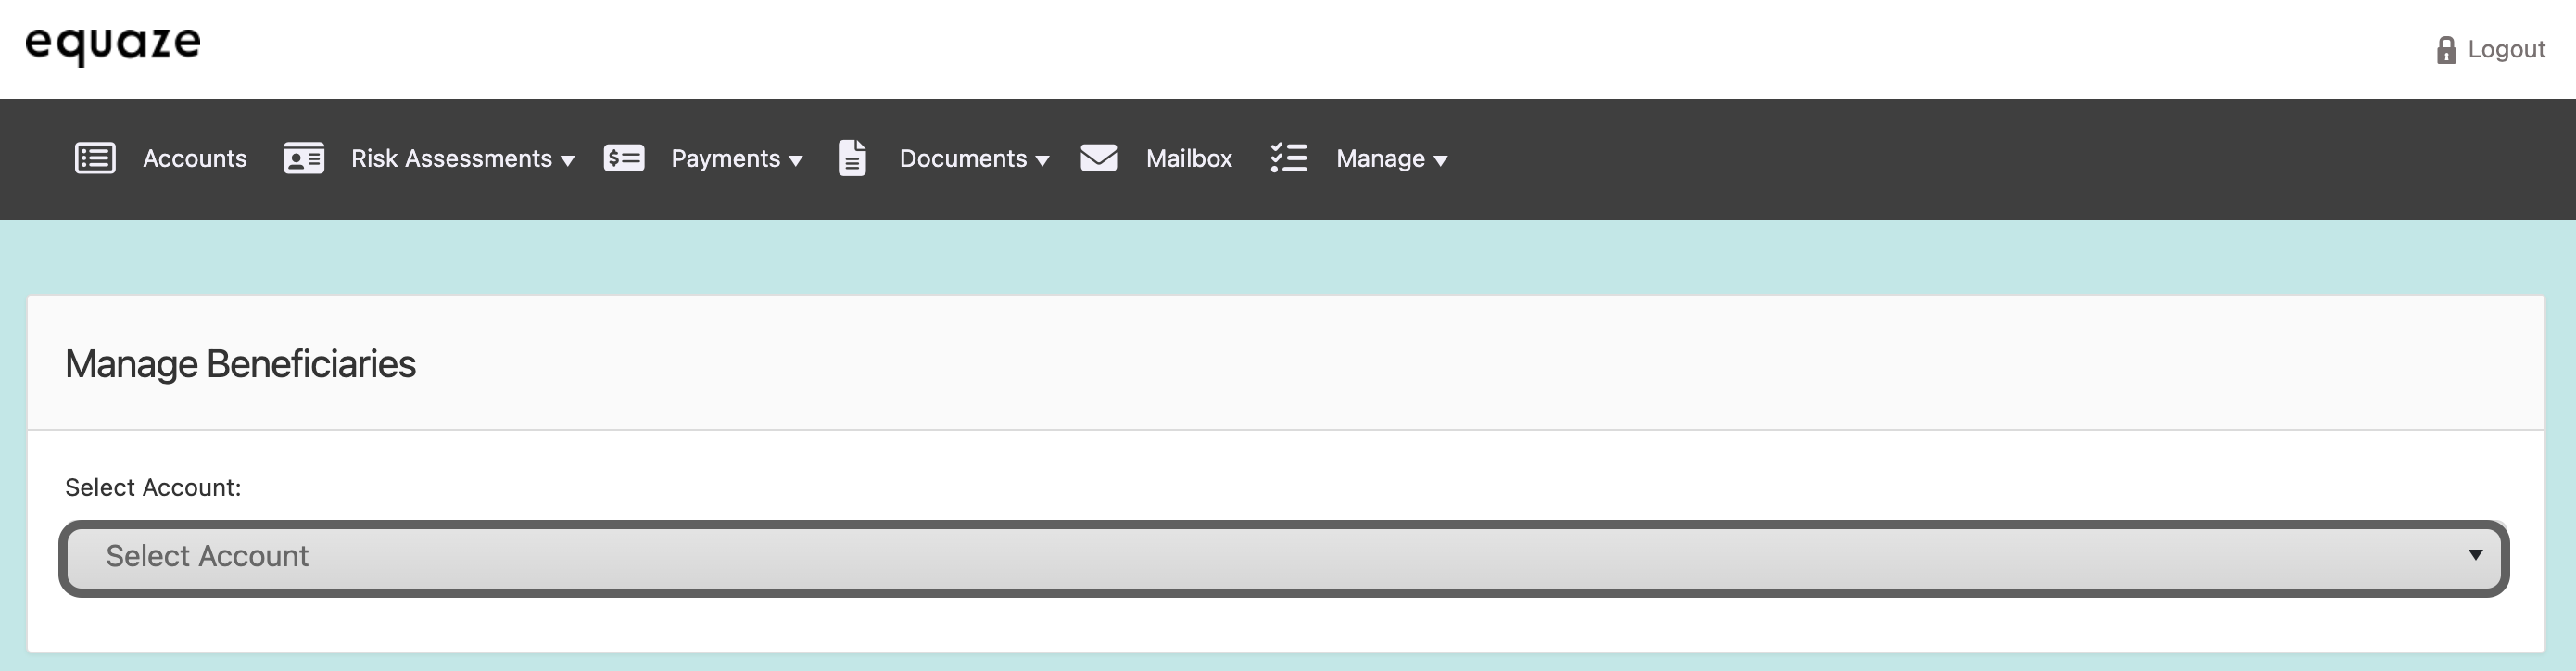
Choose the desired account from the expanded list.
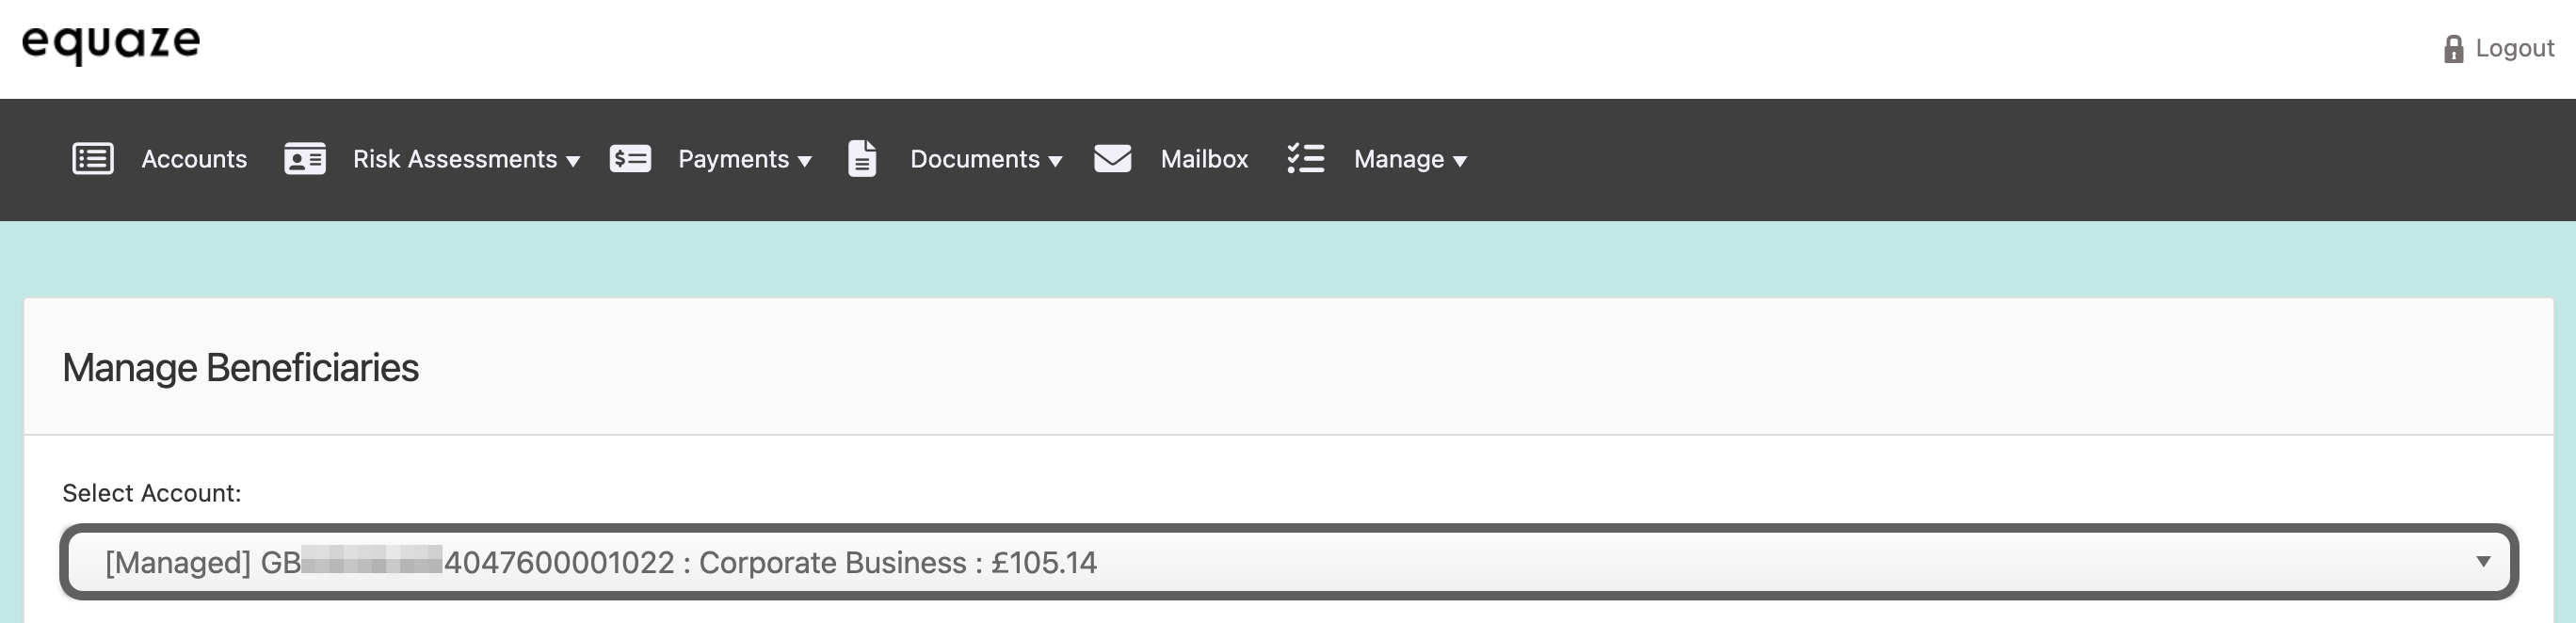
Click on the “Edit” icon (represented as a pencil) next to the beneficiary you want to edit.
- Then, the “Edit Beneficiary” page should be displayed.
Edit Beneficiary Information
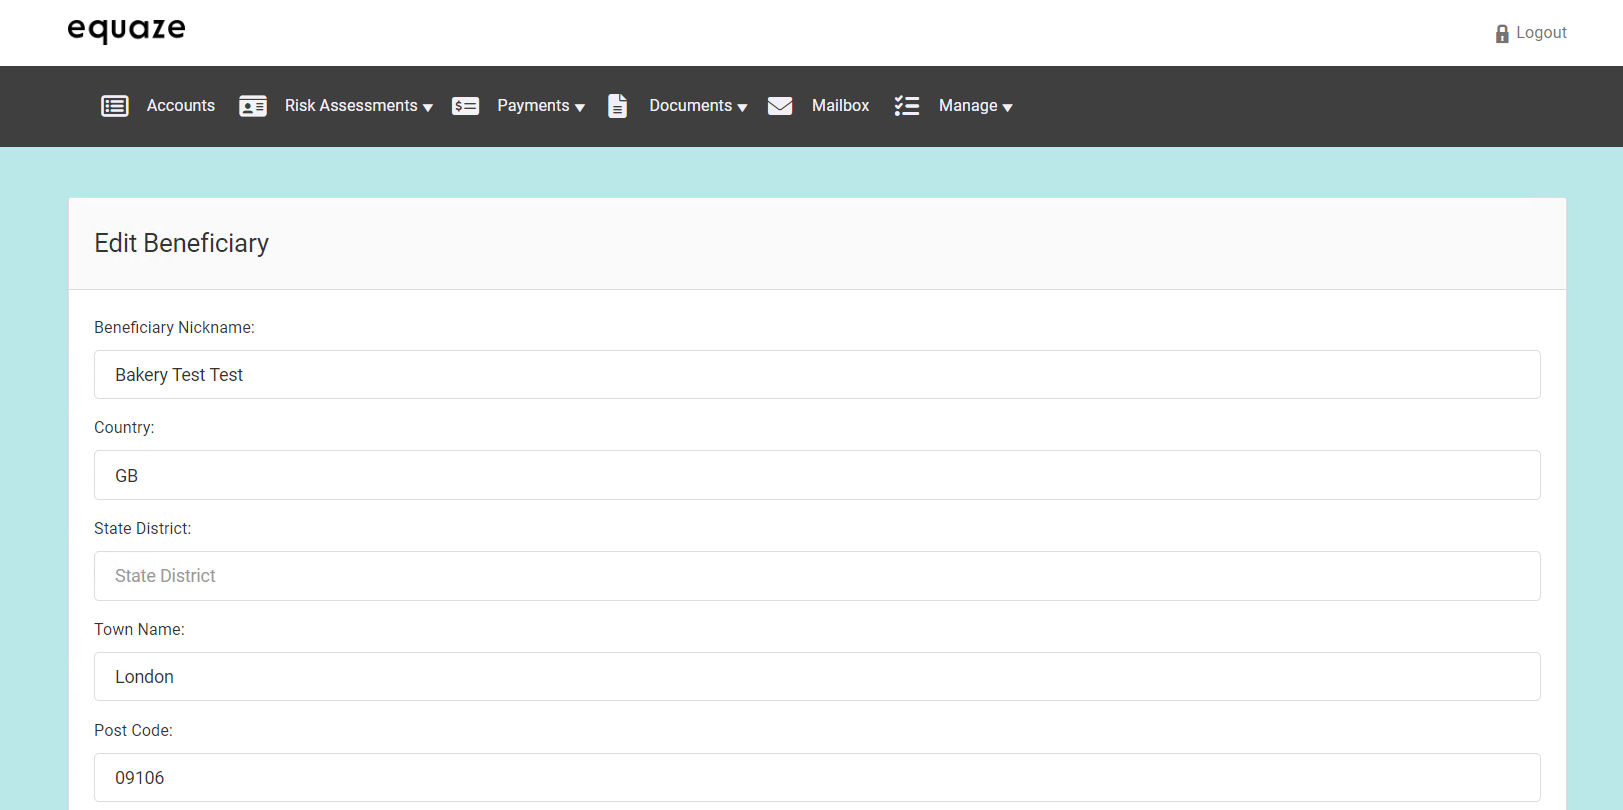
Edit Beneficiary Nickname
Click on the “Beneficiary Nickname” field.
- Ensure the cursor is displayed in the field, allowing for text input.
Edit the beneficiary nickname as desired.
- Click outside the field to confirm the changes.
Editing Beneficiary Address Details
Editing Beneficiary Country:
Click on the “Country” field and enter the valid ISO 3166 2-letter country code.
- The field will be updated with the new country information.
Editing Beneficiary State District:
Click on the “State District” field and enter the valid state district for the beneficiary’s postal address.
- The field will be updated accordingly.
Editing Beneficiary Town Name:
Click on the “Town Name” field and enter the valid town name for the beneficiary’s postal address.
- The field will be updated with the new town name.
Editing Beneficiary Post Code:
Click on the “Post Code” field and enter the valid post code for the beneficiary’s postal address.
- The field will be updated with the new post code.
Editing Beneficiary Street Name:
Click on the “Street Name” field and enter the valid street name for the beneficiary’s postal address.
- The field will be updated with the new street name.
Editing Beneficiary Building Number:
Click on the “Building Number” field and enter the valid building number for the beneficiary’s postal address.
- The field will be updated with the new building number.
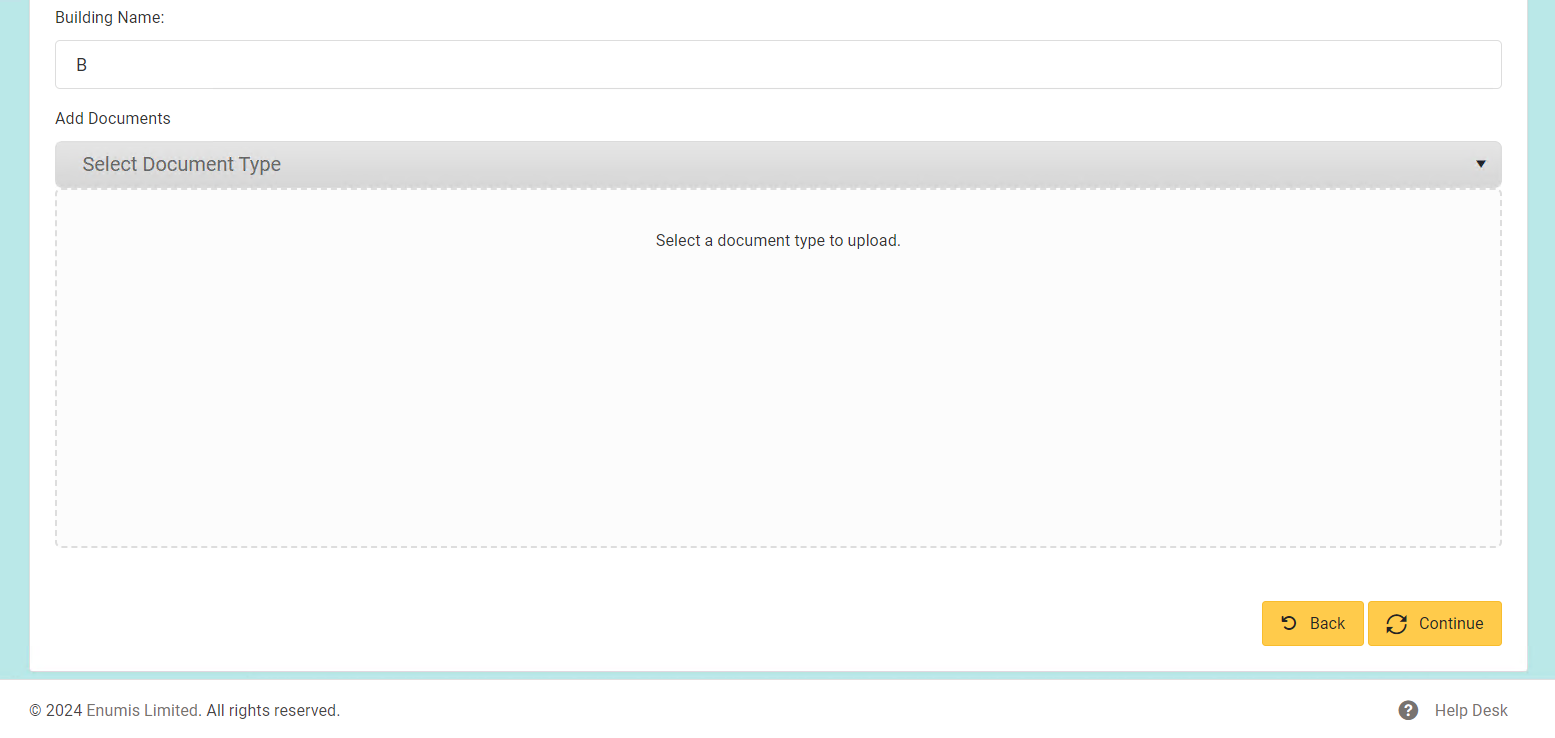
Editing Beneficiary Building Name:
Click on the “Building Name” field and enter the valid building name for the beneficiary’s postal address.
- The field will be updated with the new building name.
Saving Edits:
Click the “Continue” button to save the updated address information.
- The “Manage beneficiaries” page will be displayed.
Add Document Type
Click on the “Select document type” button in the “Add document” section.
- The “Select document type” dropdown list should be extended, providing a selection of document types.
Choose the appropriate document type from the dropdown list.
Upload Document
Click on the “Add document” section.
A PC window will open, prompting you to select a document from your computer.
Browse your computer, select a document, and click the “Open” button.
- Then, the selected document should be displayed in the “Add document” section.
Continue and Verify Changes
Click on the “Continue” button to proceed with the changes.
- The system should navigate back to the “Manage beneficiaries” page.