Prerequisites
To create a beneficiary, you should have sufficient permissions to manage beneficiaries.
Accurate and complete information about the beneficiary to be added is essential, including details such as the beneficiary’s name and account information.
To create a beneficiary, select the options Payments > Manage Beneficiaries in the menu first.
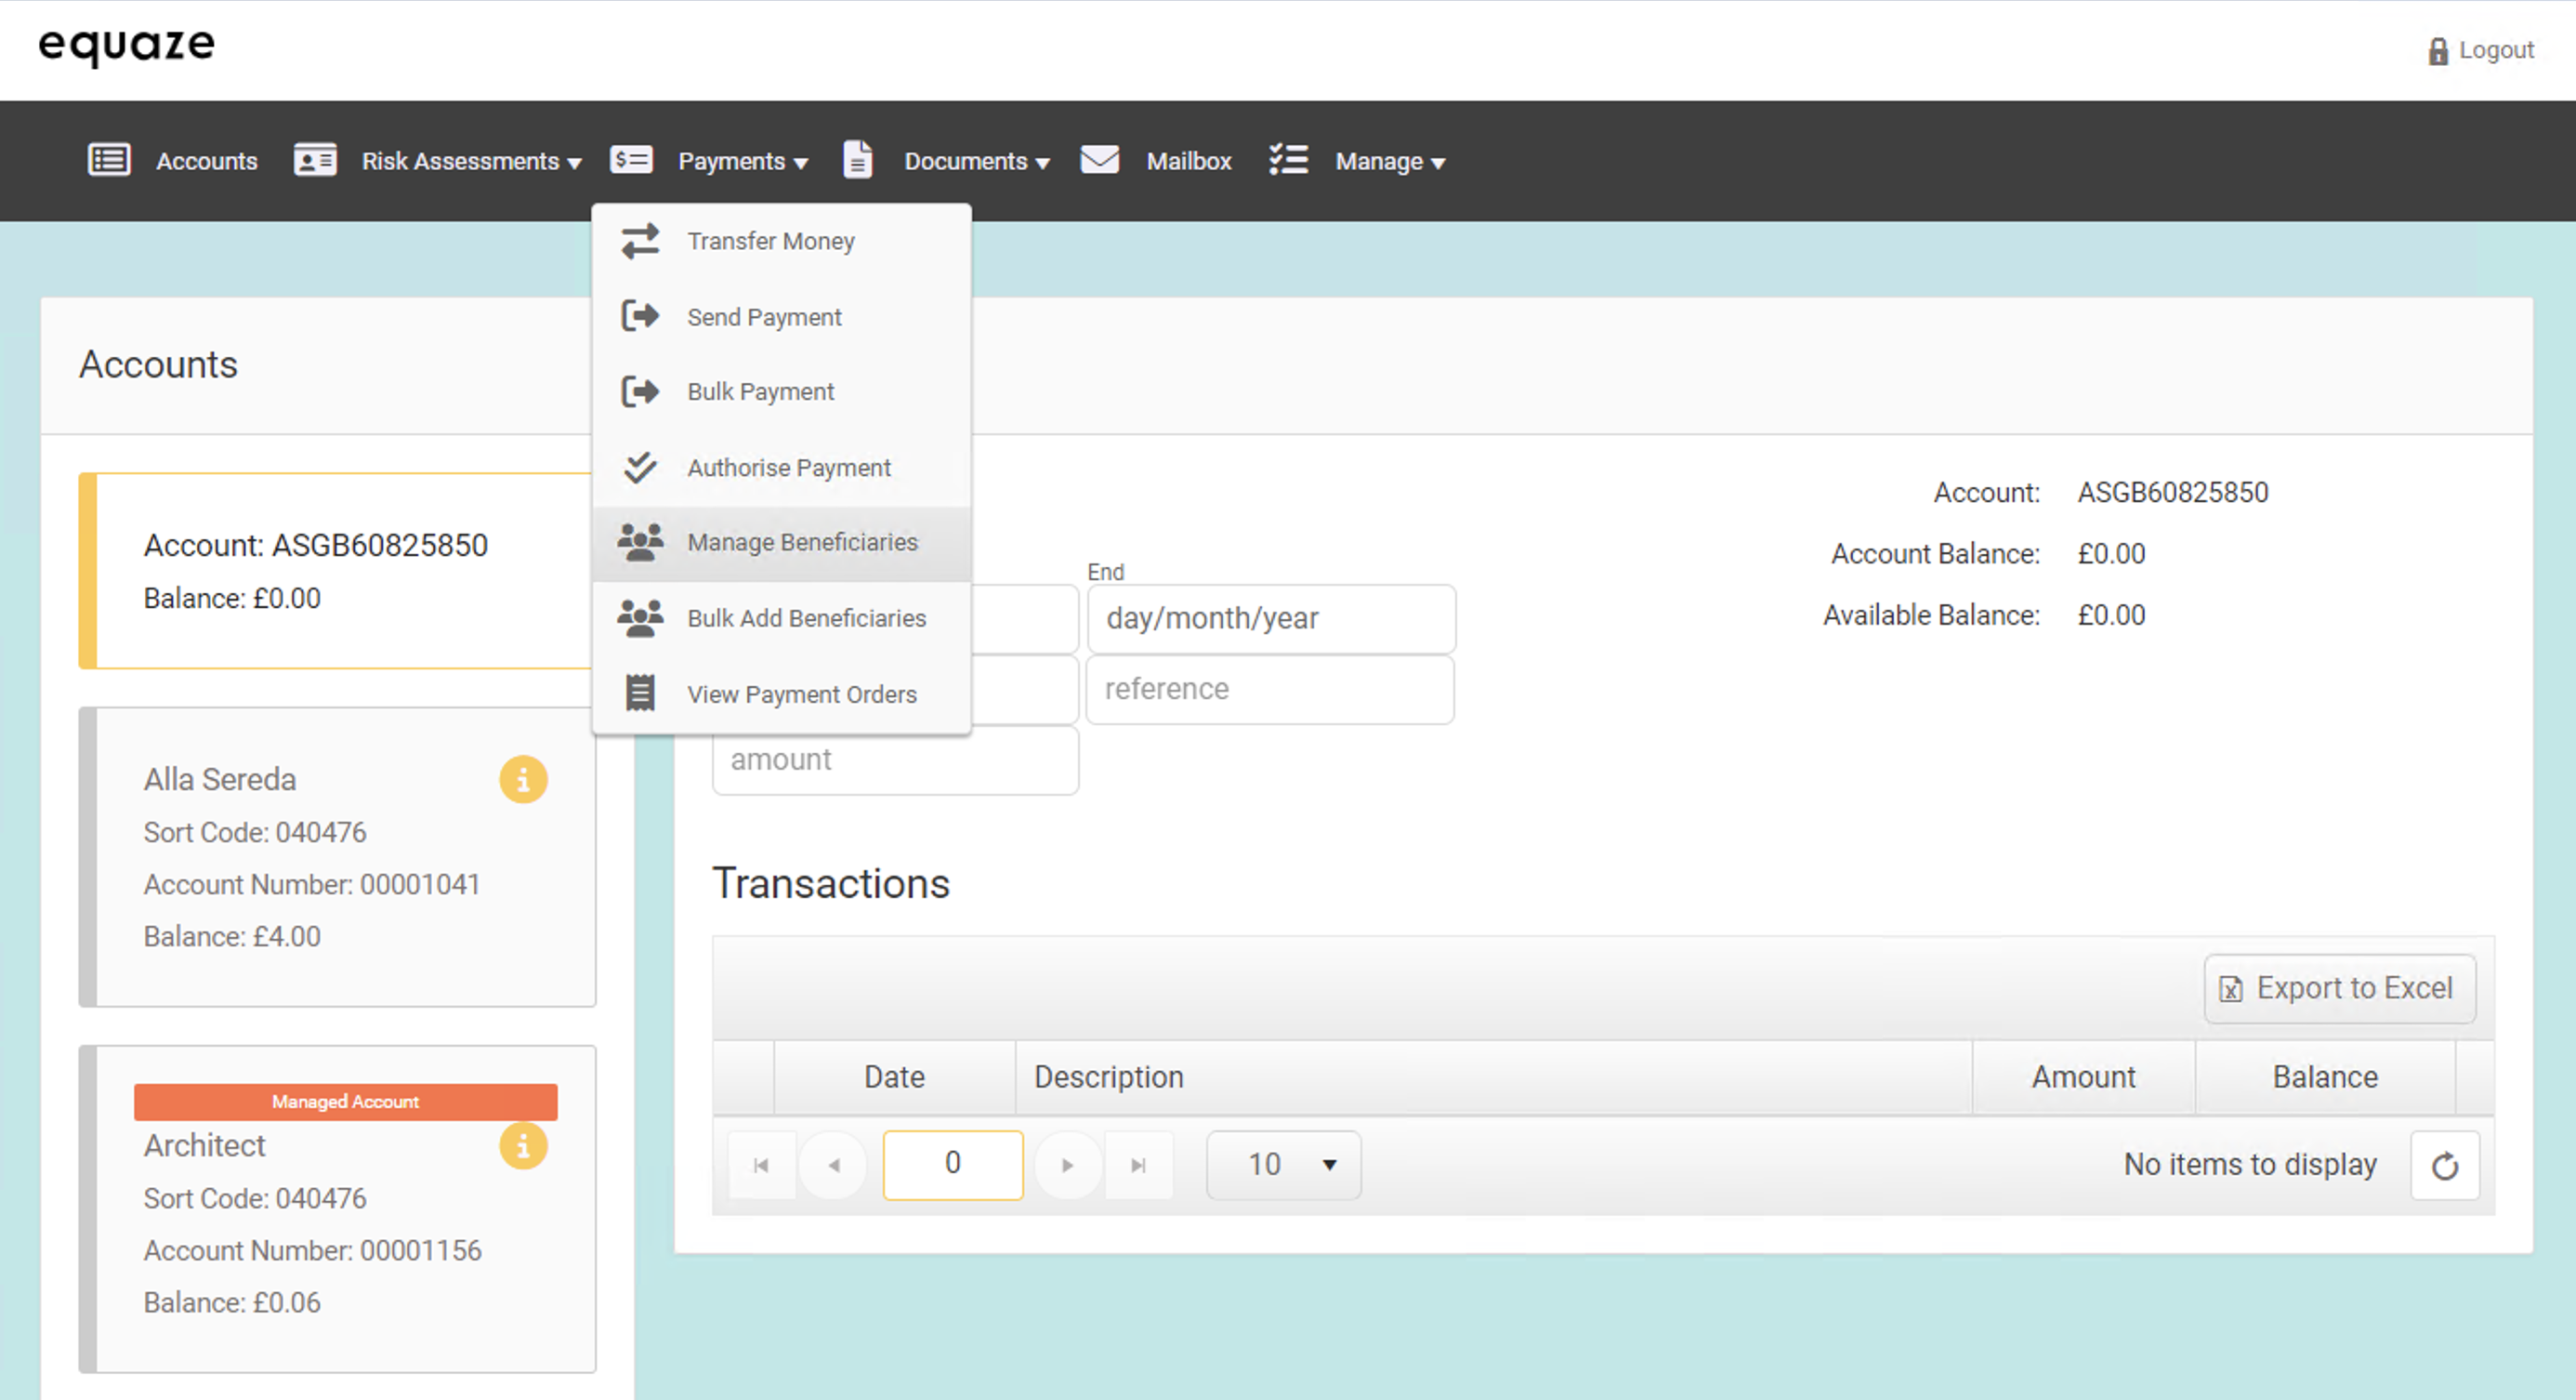
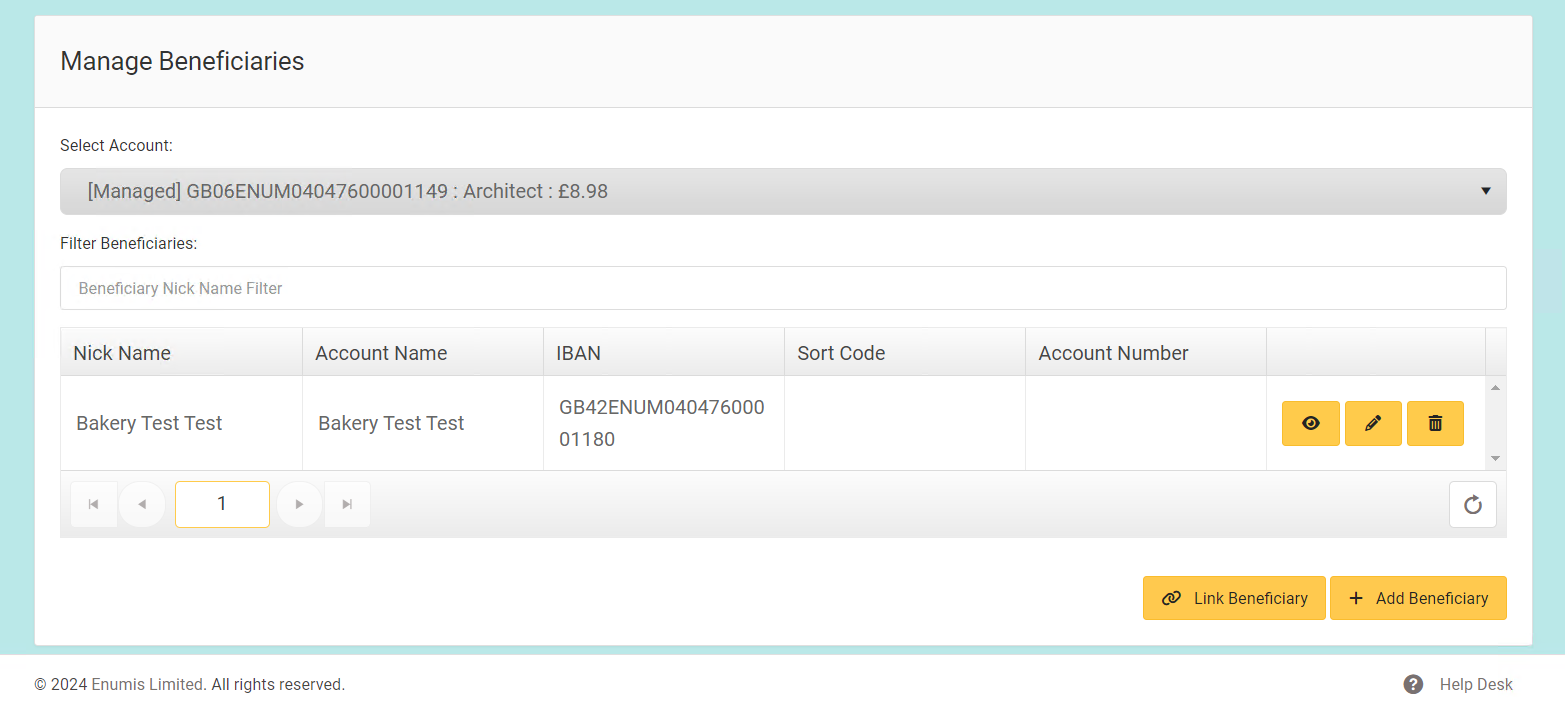
The Manage Beneficiaries page then appears, where you must choose an account to associate the beneficiary you will create.
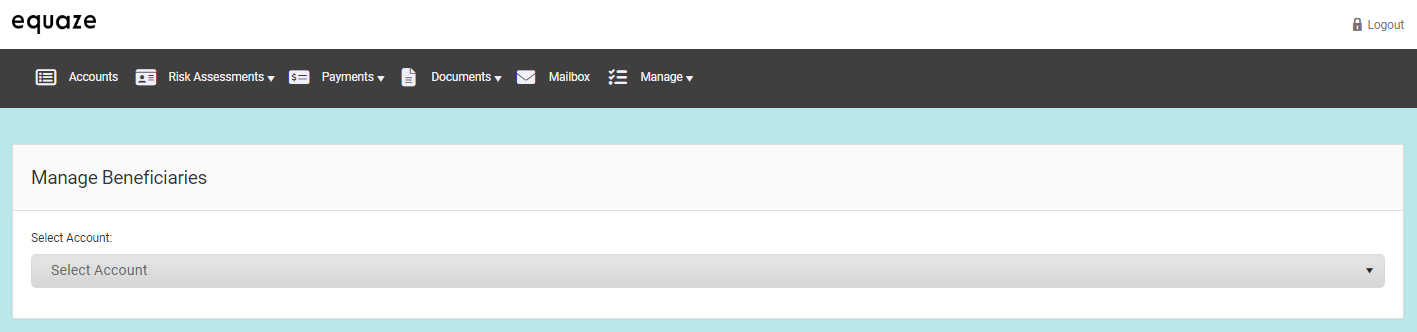
Selecting an Account
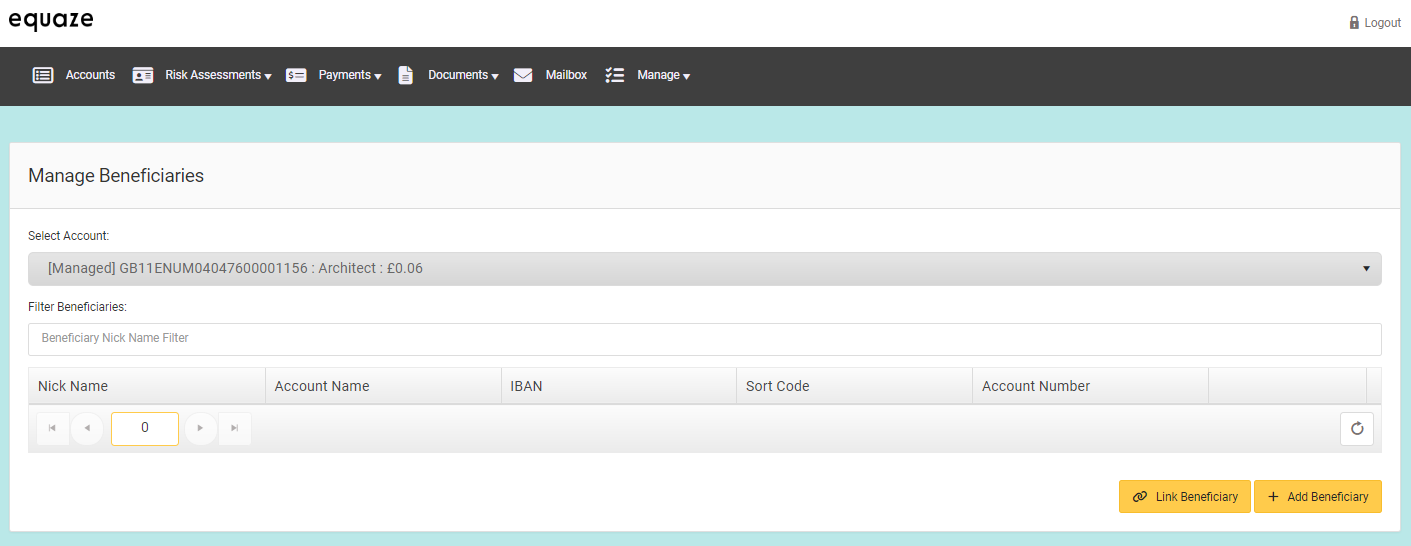
In the Select Account dropdown, choose an account. Then, upon choosing one, a list of beneficiaries already added to the selected account appears.
Next, click Add Beneficiary to start entering data about the beneficiary to add.
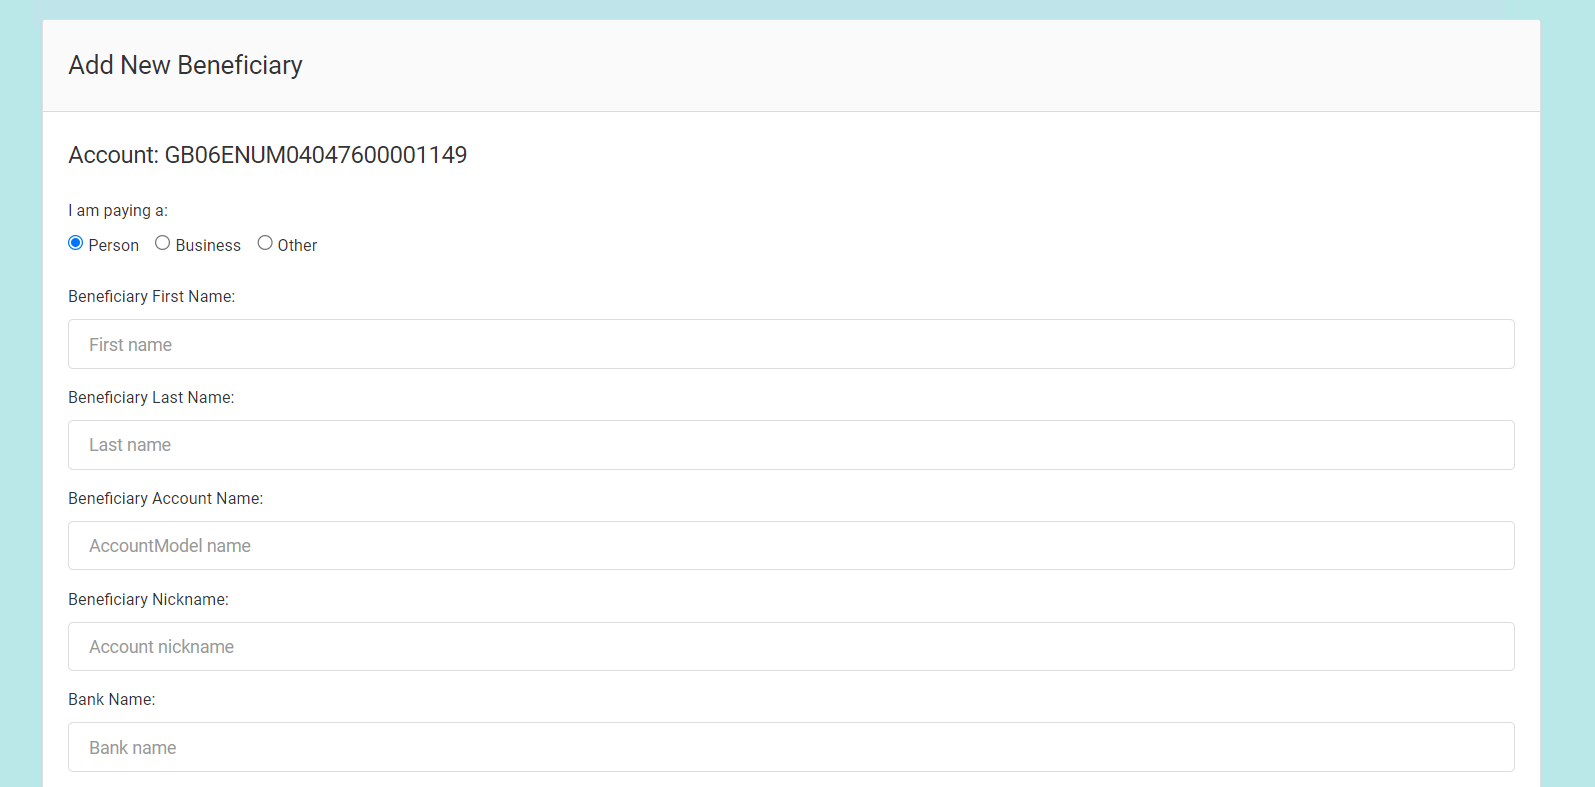
Entering Beneficiary Data
Enter your beneficiary’s data in their respective fields. Most of them are required, so be sure to input a value in them.
Attaching Documents
Aside from inputting beneficiary data, you can opt to attach any relevant document in the Add Documents field. To include one, you must first specify the type of document using the Select Document Type dropdown. Then, click the wide empty whitespace of the Add Documents field to open the file dialogue box of your operating system. Select one or more files to attach and then wait until the upload progress completes (indicated by a green checkmark icon).
Alternatively, you can drag one or more files from your computer and drop them directly into the empty whitespace of the Add Documents field.
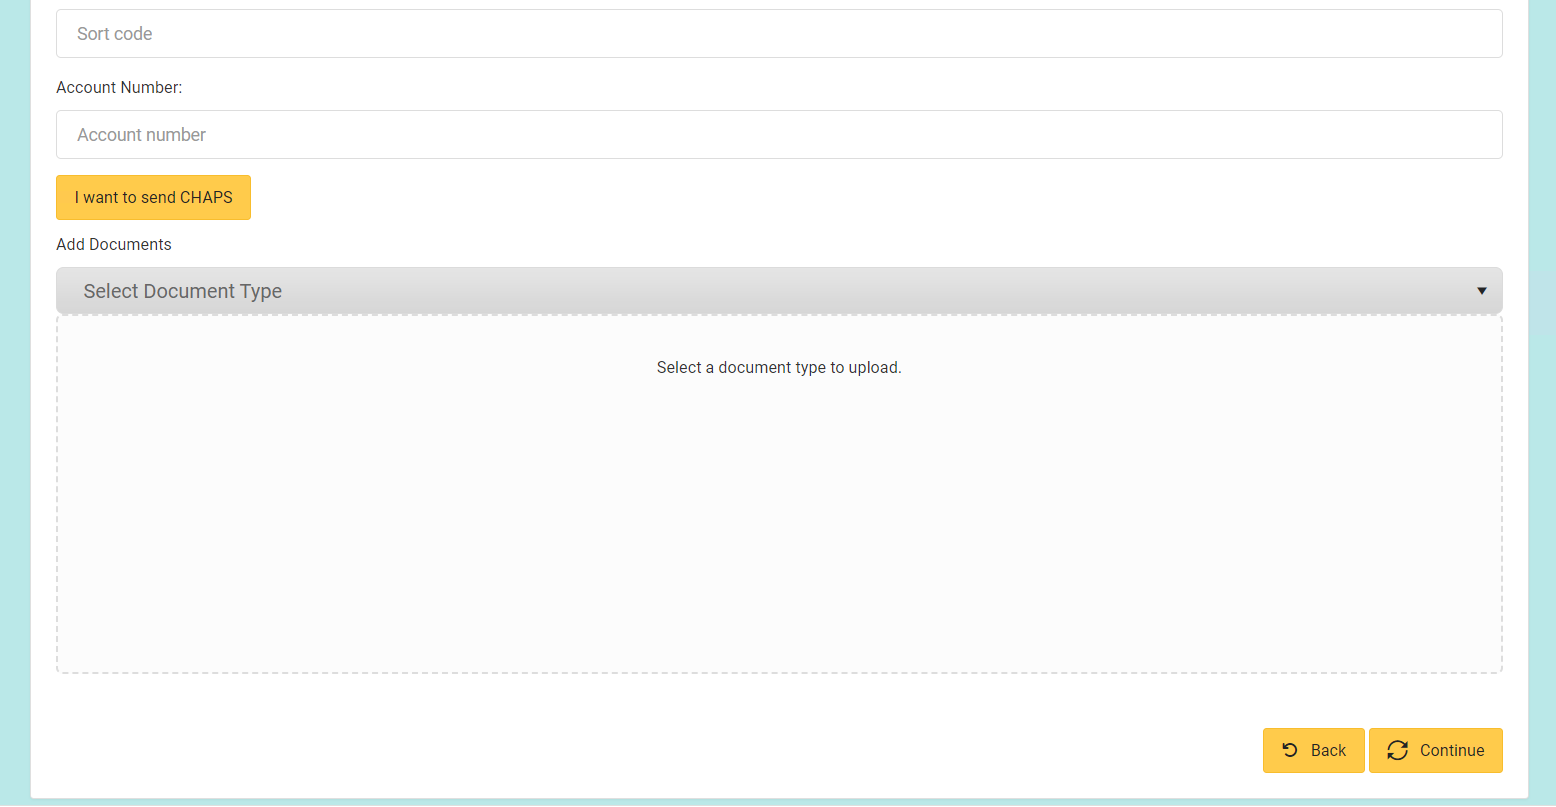
Once done attaching files, click Continue to schedule the new beneficiary’s addition and redirect you to the Manage Beneficiaries page.
Note: If your permissions are not sole authority (that is to say, you need another user to authorise your requests for adding a new beneficiary), adding the new beneficiary requires approval from a user with the appropriate authorised permissions. It will remain pending in our system until the authorised user approves or rejects it. Note that you can’t authorise the creation of your new beneficiary.


