Note: CHAPS payments will need Beneficiary address details to comply with new regulatory requirements. This is to enhance security, verify the legitimacy of the beneficiary, contribute to accurate and efficient fund transfers.
Navigating to Manage Beneficiaries
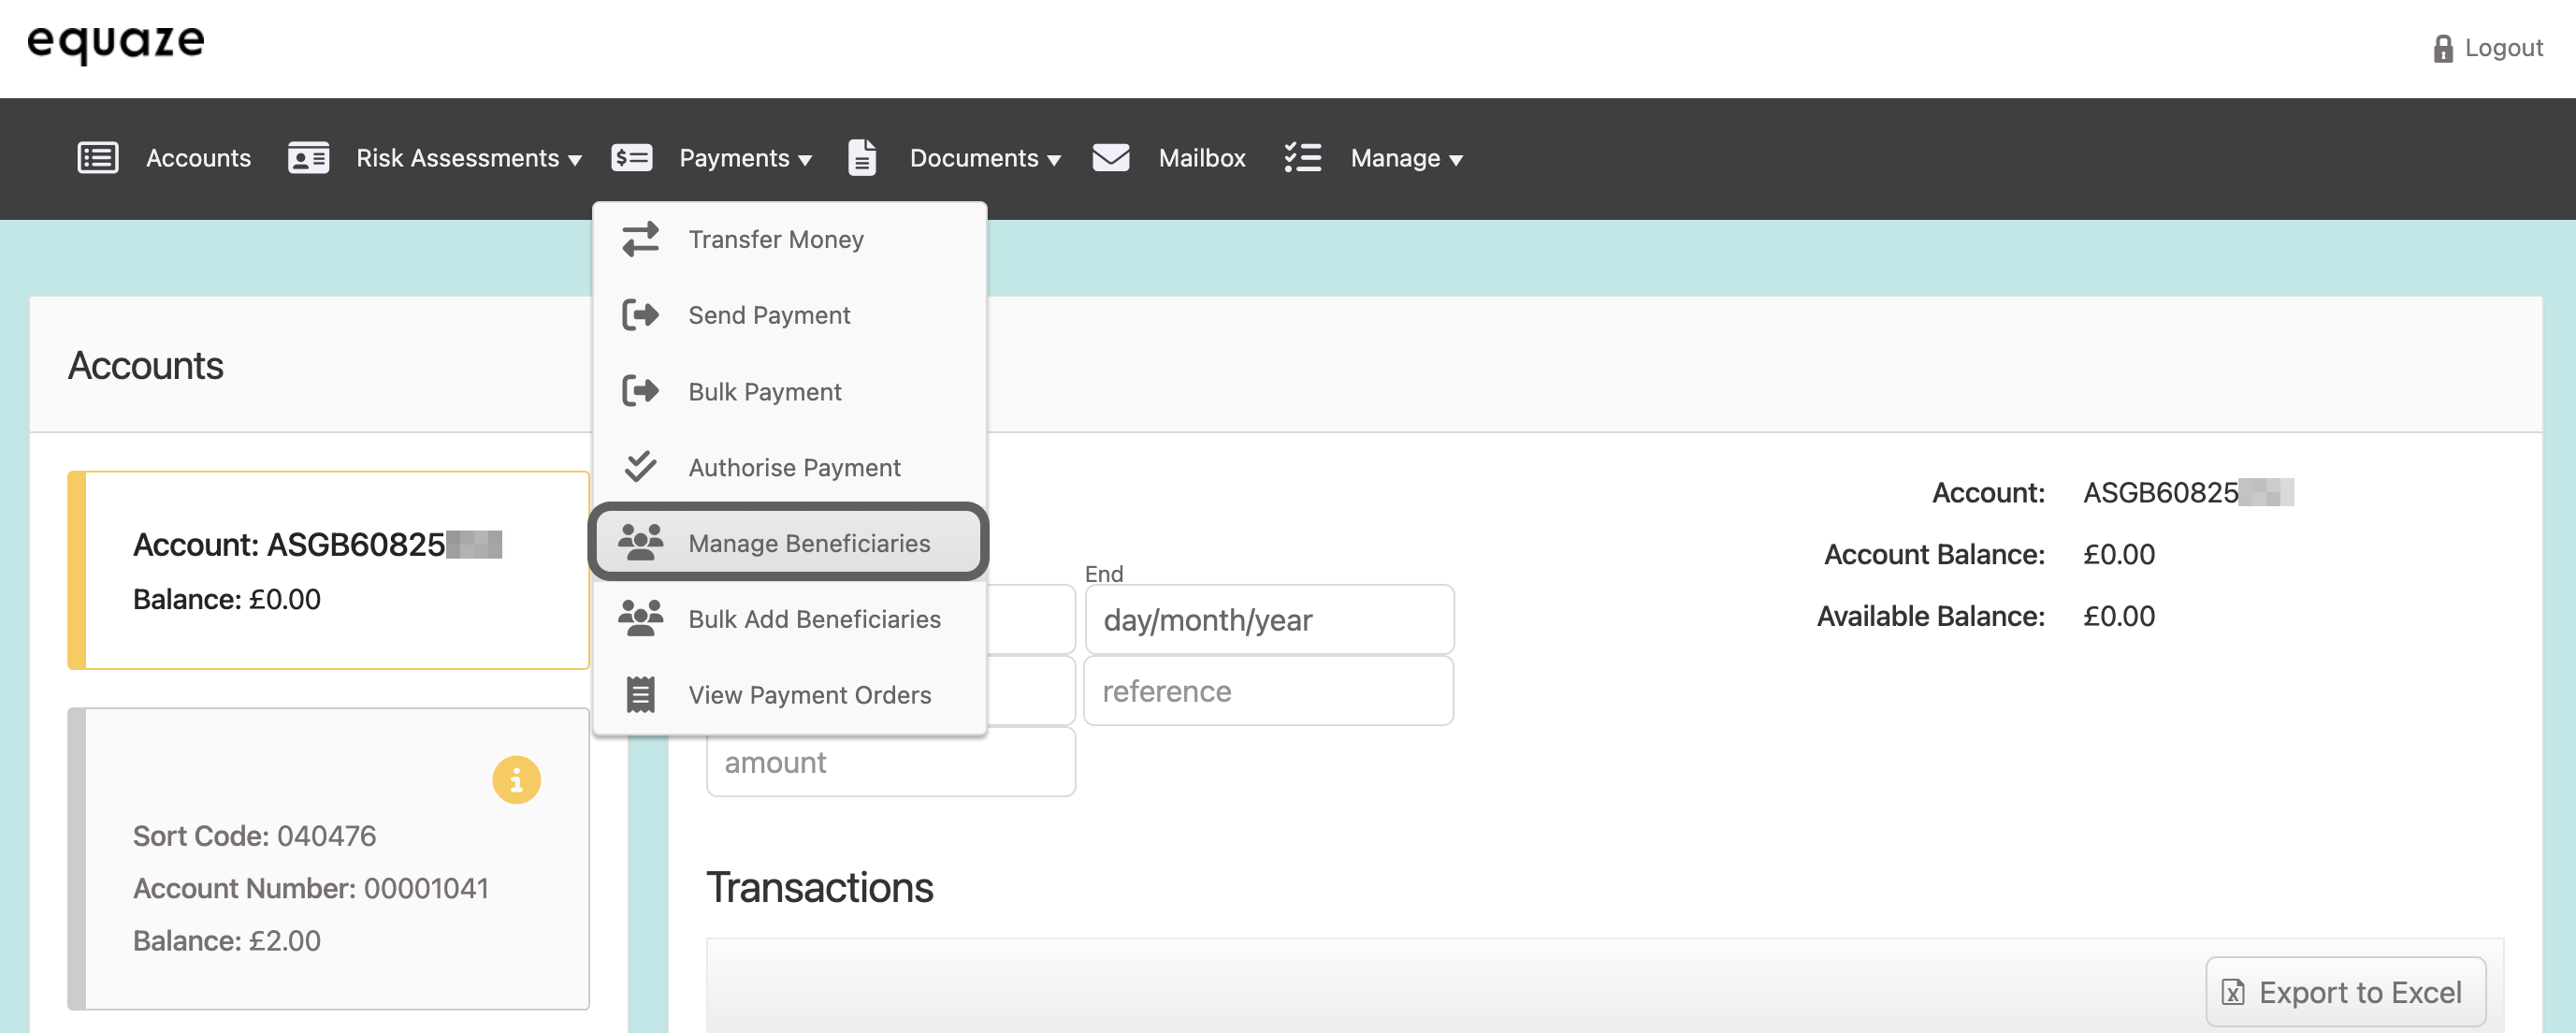
Click on the “Payments” dropdown situated in the header of the website and select “Manage Beneficiaries” from the options.
- The “Manage beneficiaries” page will be displayed.
Selecting Account and Initiating Edit
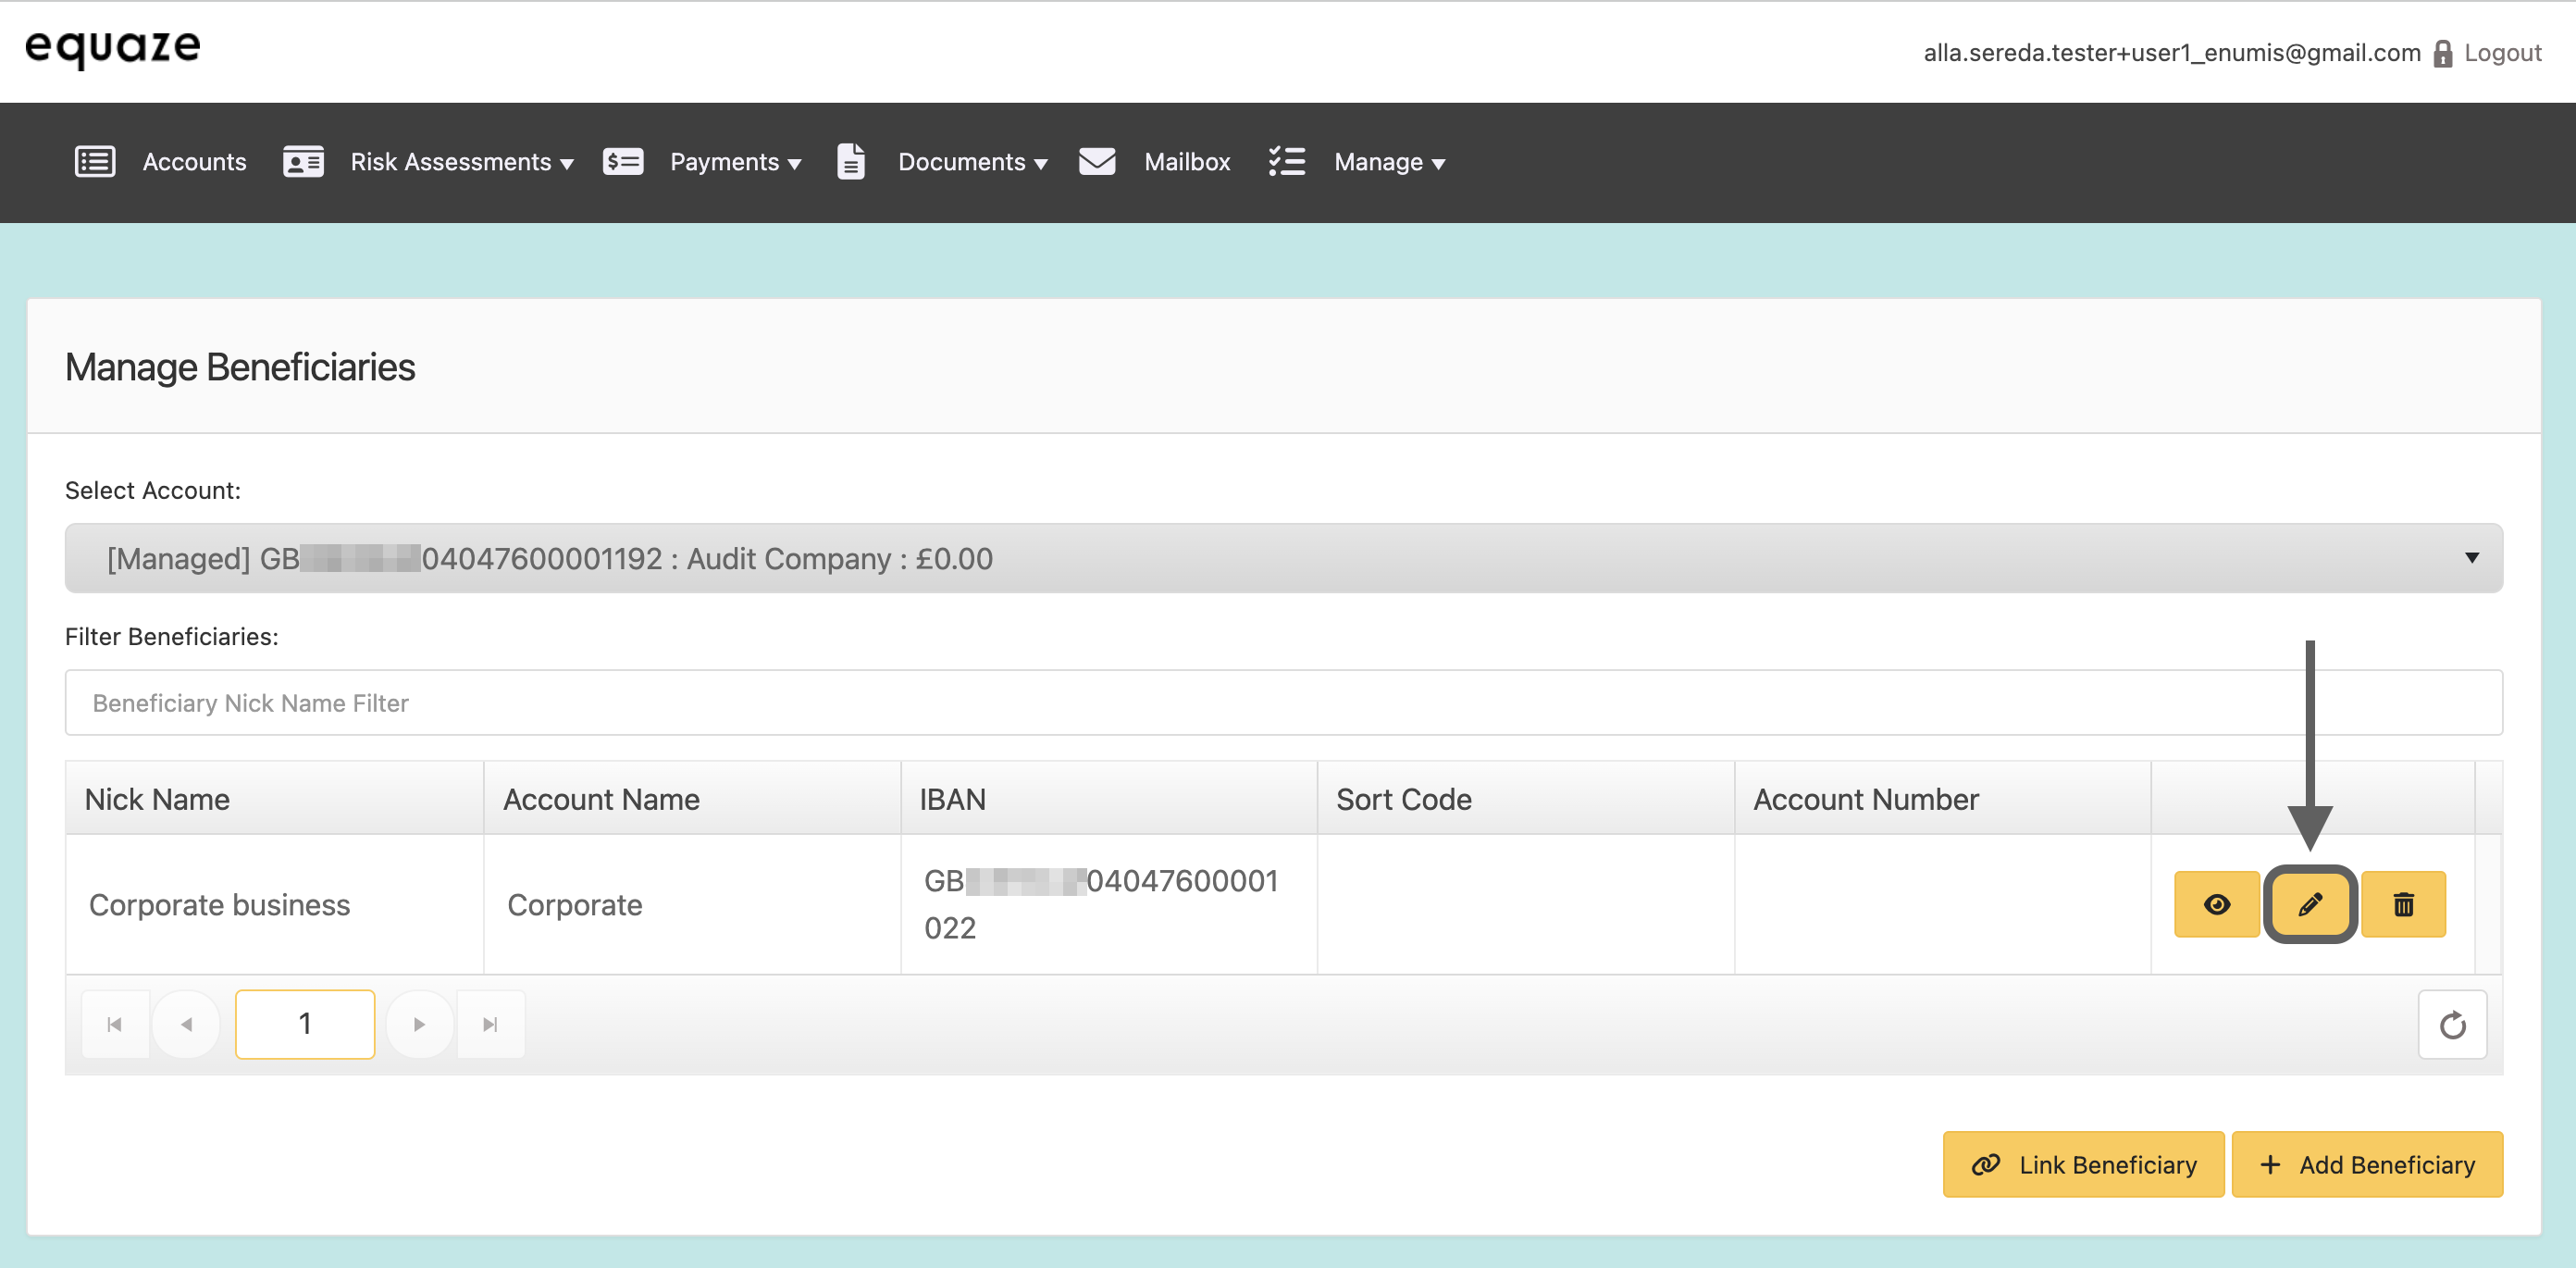
Click on the “Select account” dropdown to choose the specific account you want to manage..

Click on the “Edit” icon next to the beneficiary you want to modify.
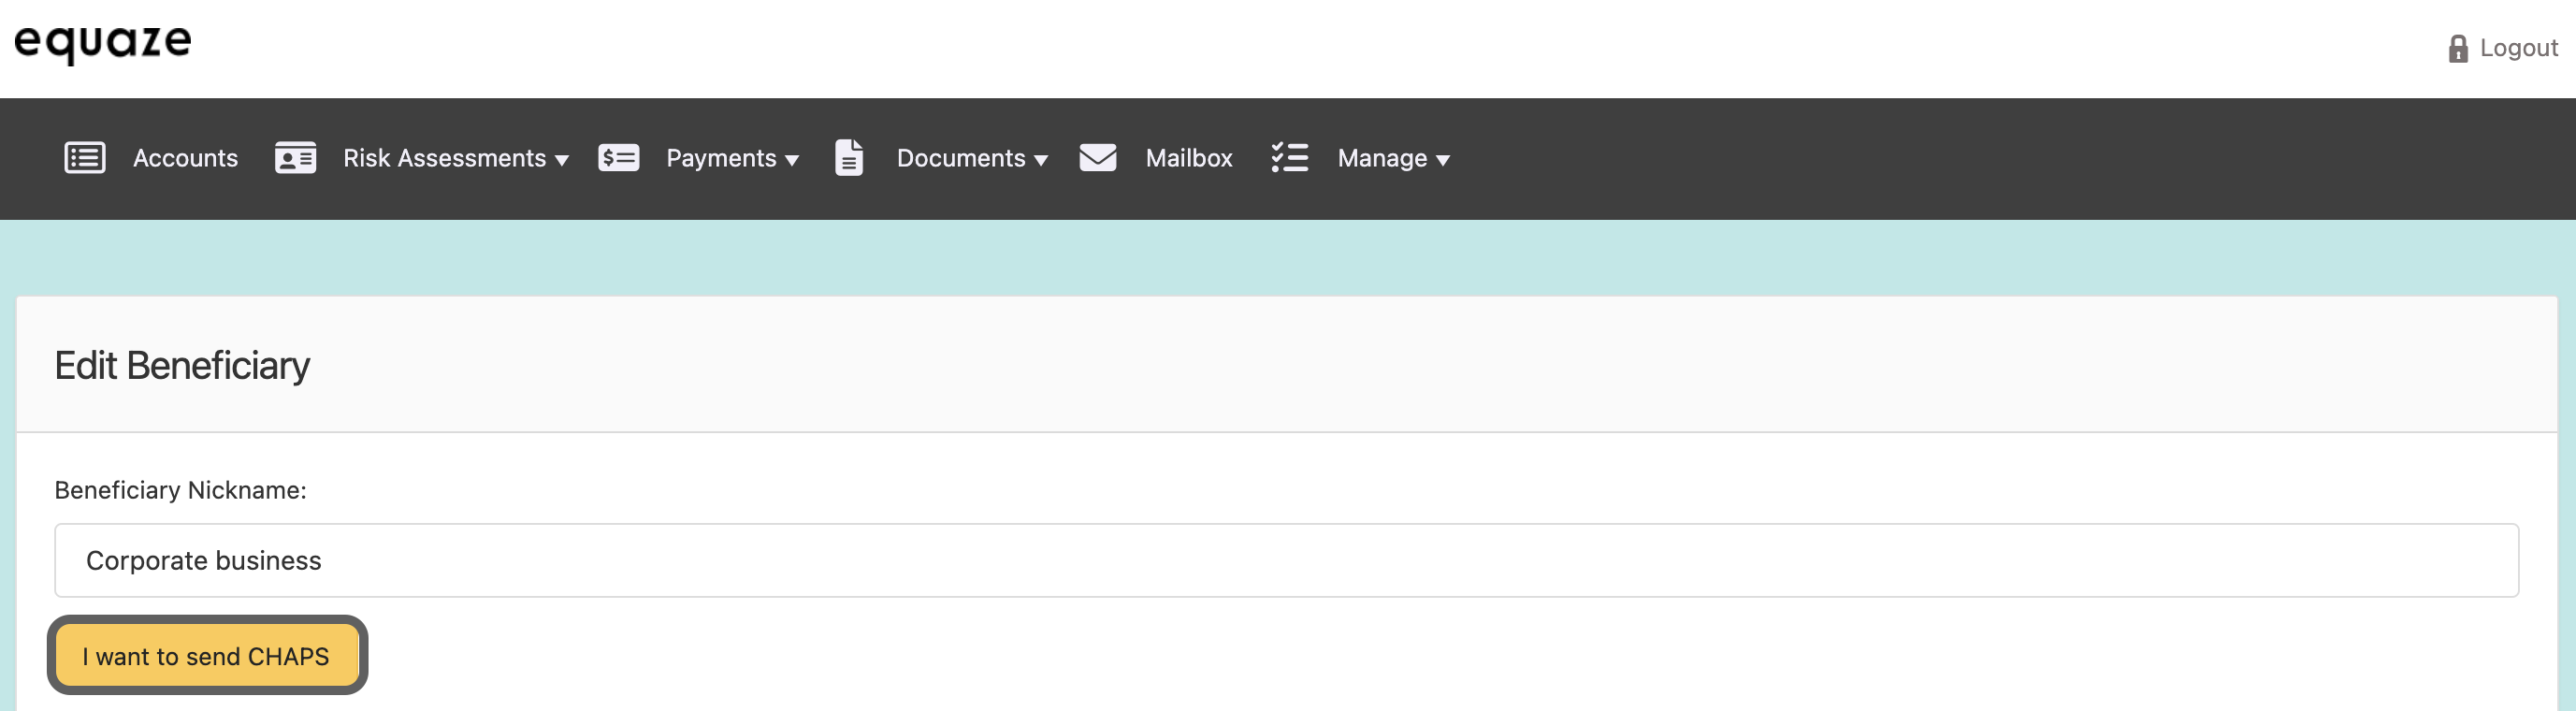
Select “I want to send CHAPS” on the “Edit Beneficiary” page.
- By selecting this option, you are indicating that you want to make a payment using the CHAPS service, and providing the necessary details for the beneficiary’s address is crucial for the smooth processing of the transaction.
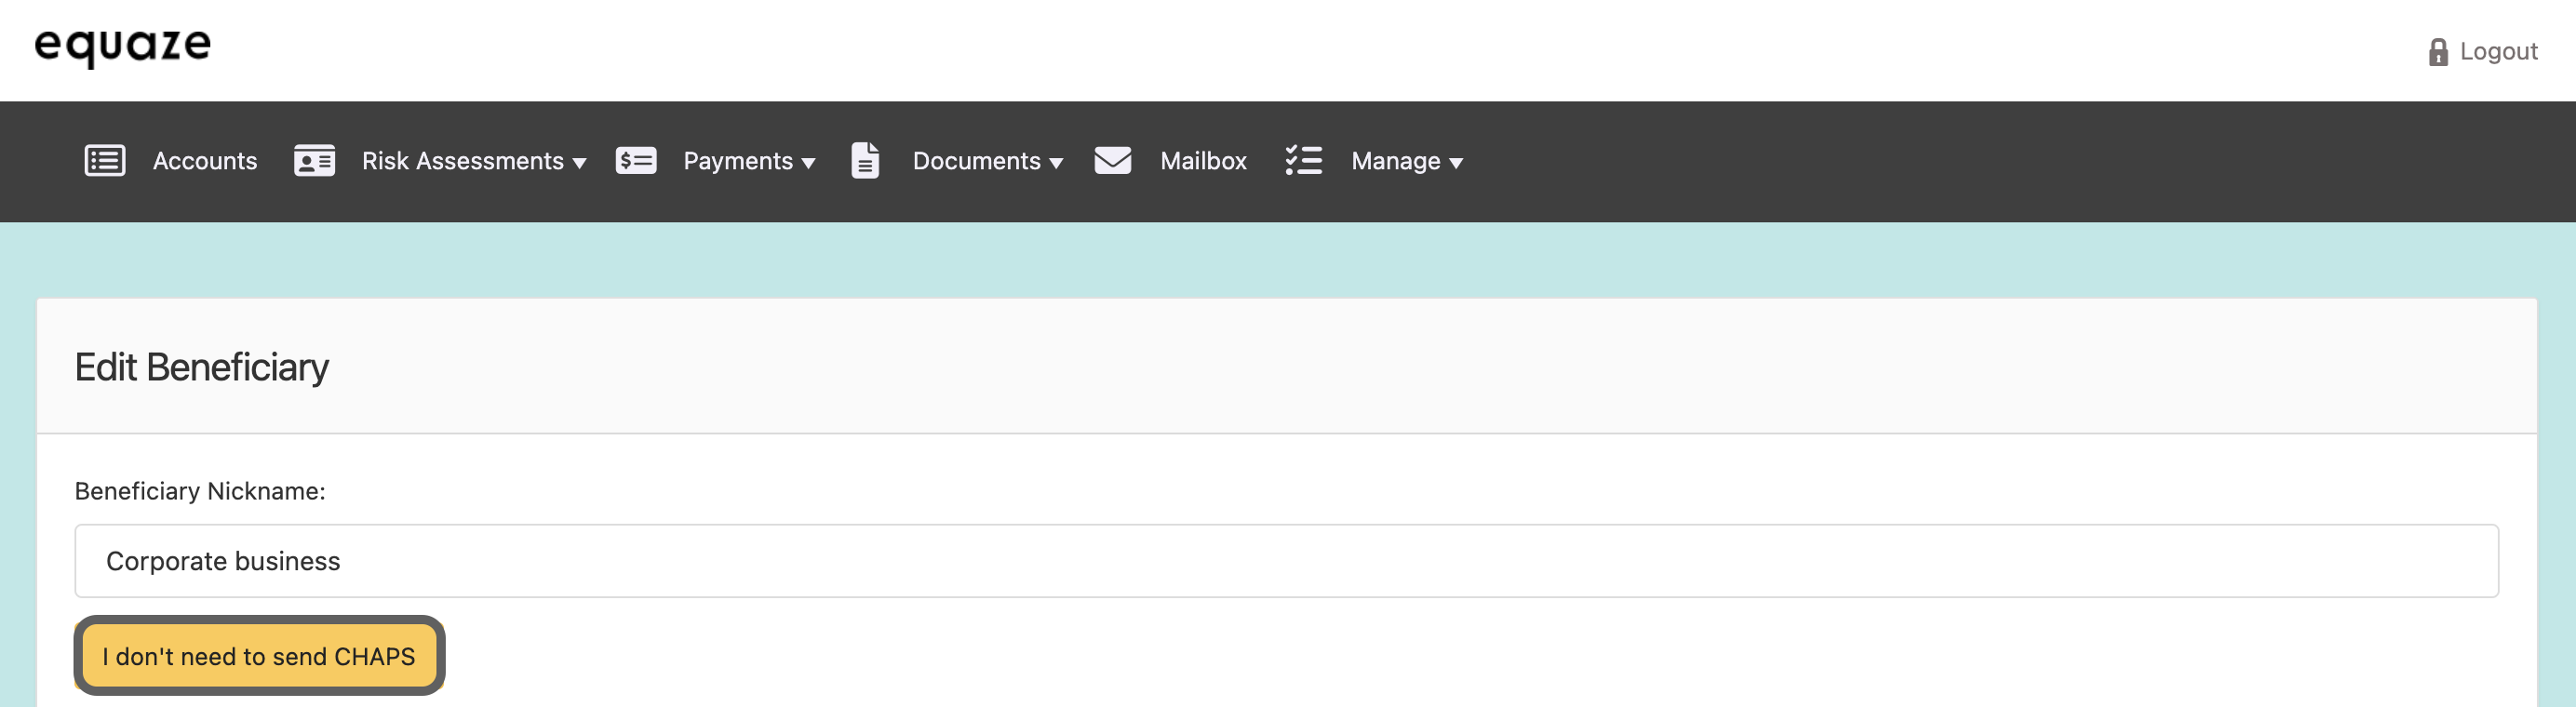
- On the “Edit beneficiary” page you have an option not to proceed with adding the address.
Entering Address Information
Fill in all required fields with valid address data.
- Ensure to complete the fields for country, state district, town name, post code, street name, building number, and building name.
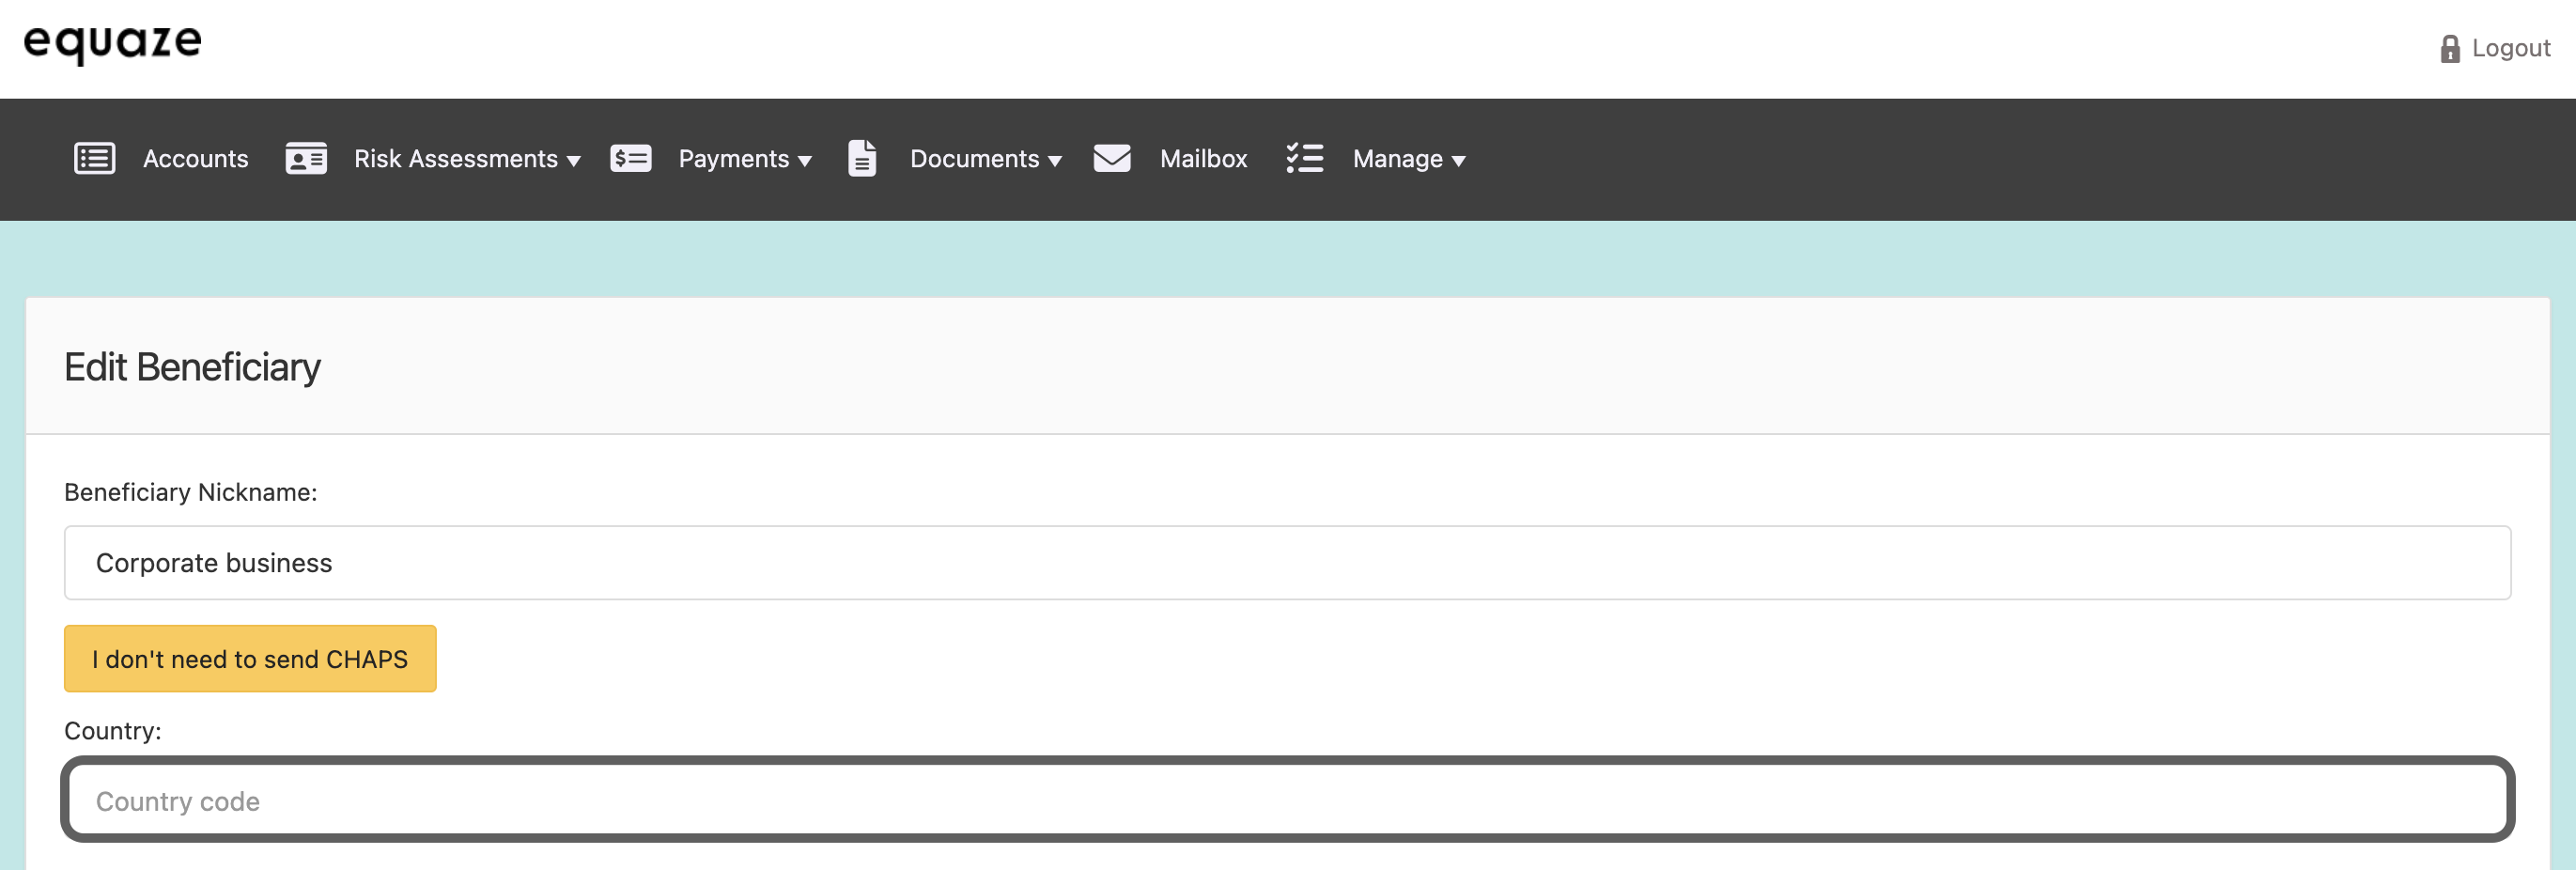
Country (ISO Code)
Locate the “Country” field on the form and click on the “Country” field to activate it.
Enter the valid ISO 3166-1 alpha-2 or alpha-3 country code (a 2-3 character code) representing the beneficiary’s destination.
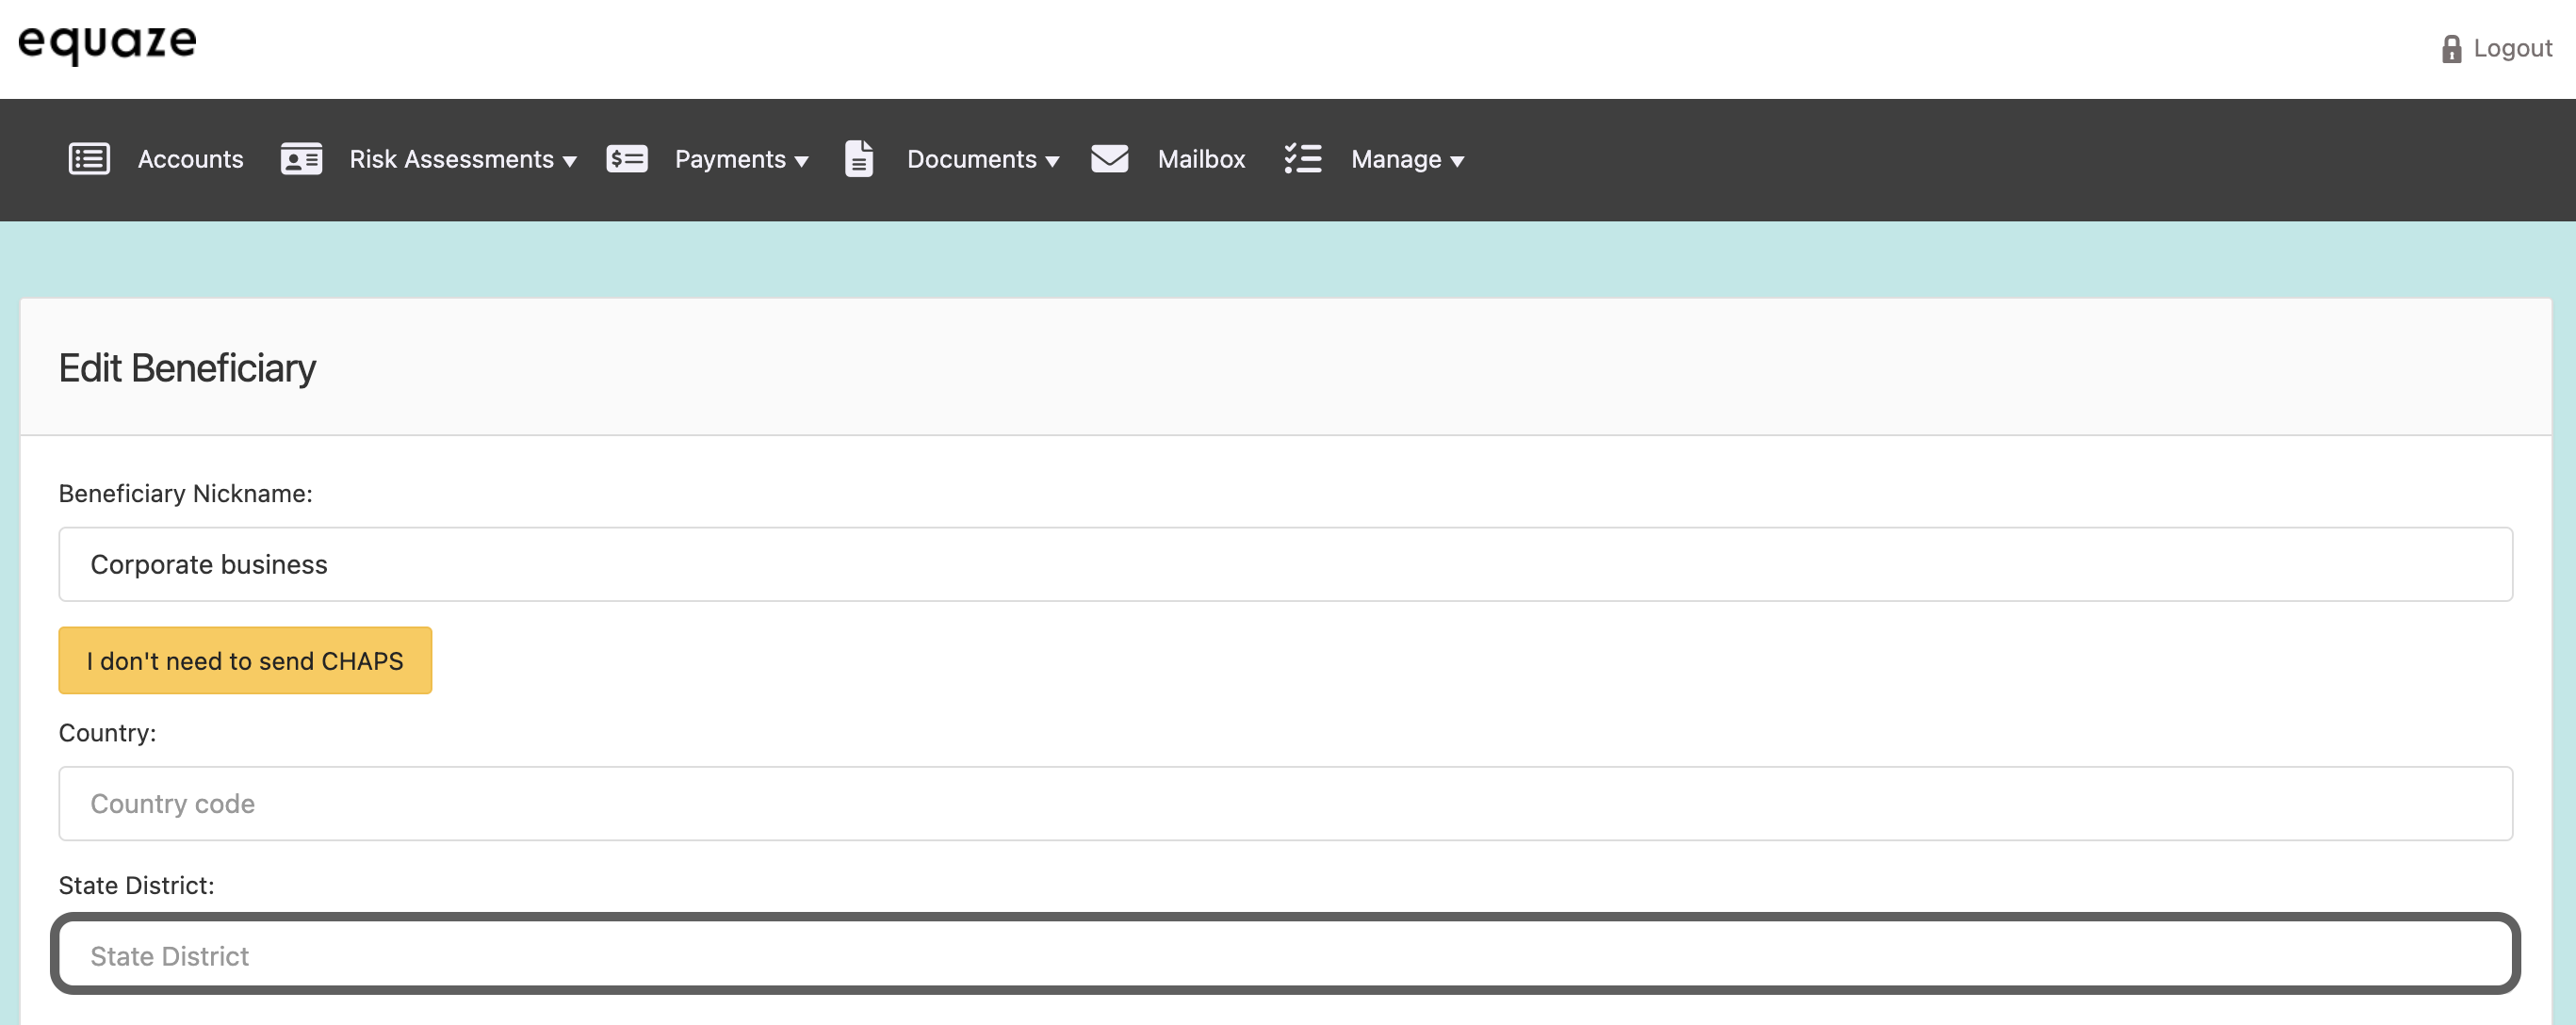
State District
Find the “State District” field on the form and click on the “State District” field to activate it.
Enter the valid state district information for the beneficiary’s address.
- The “State District” field refers to the specific administrative division, such as a state, province, district, or region, within a country where the beneficiary is located.
Town Name
Identify the “Town Name” field on the form and click on the “Town Name” field to activate it.
Input the correct town name associated with the beneficiary’s address.

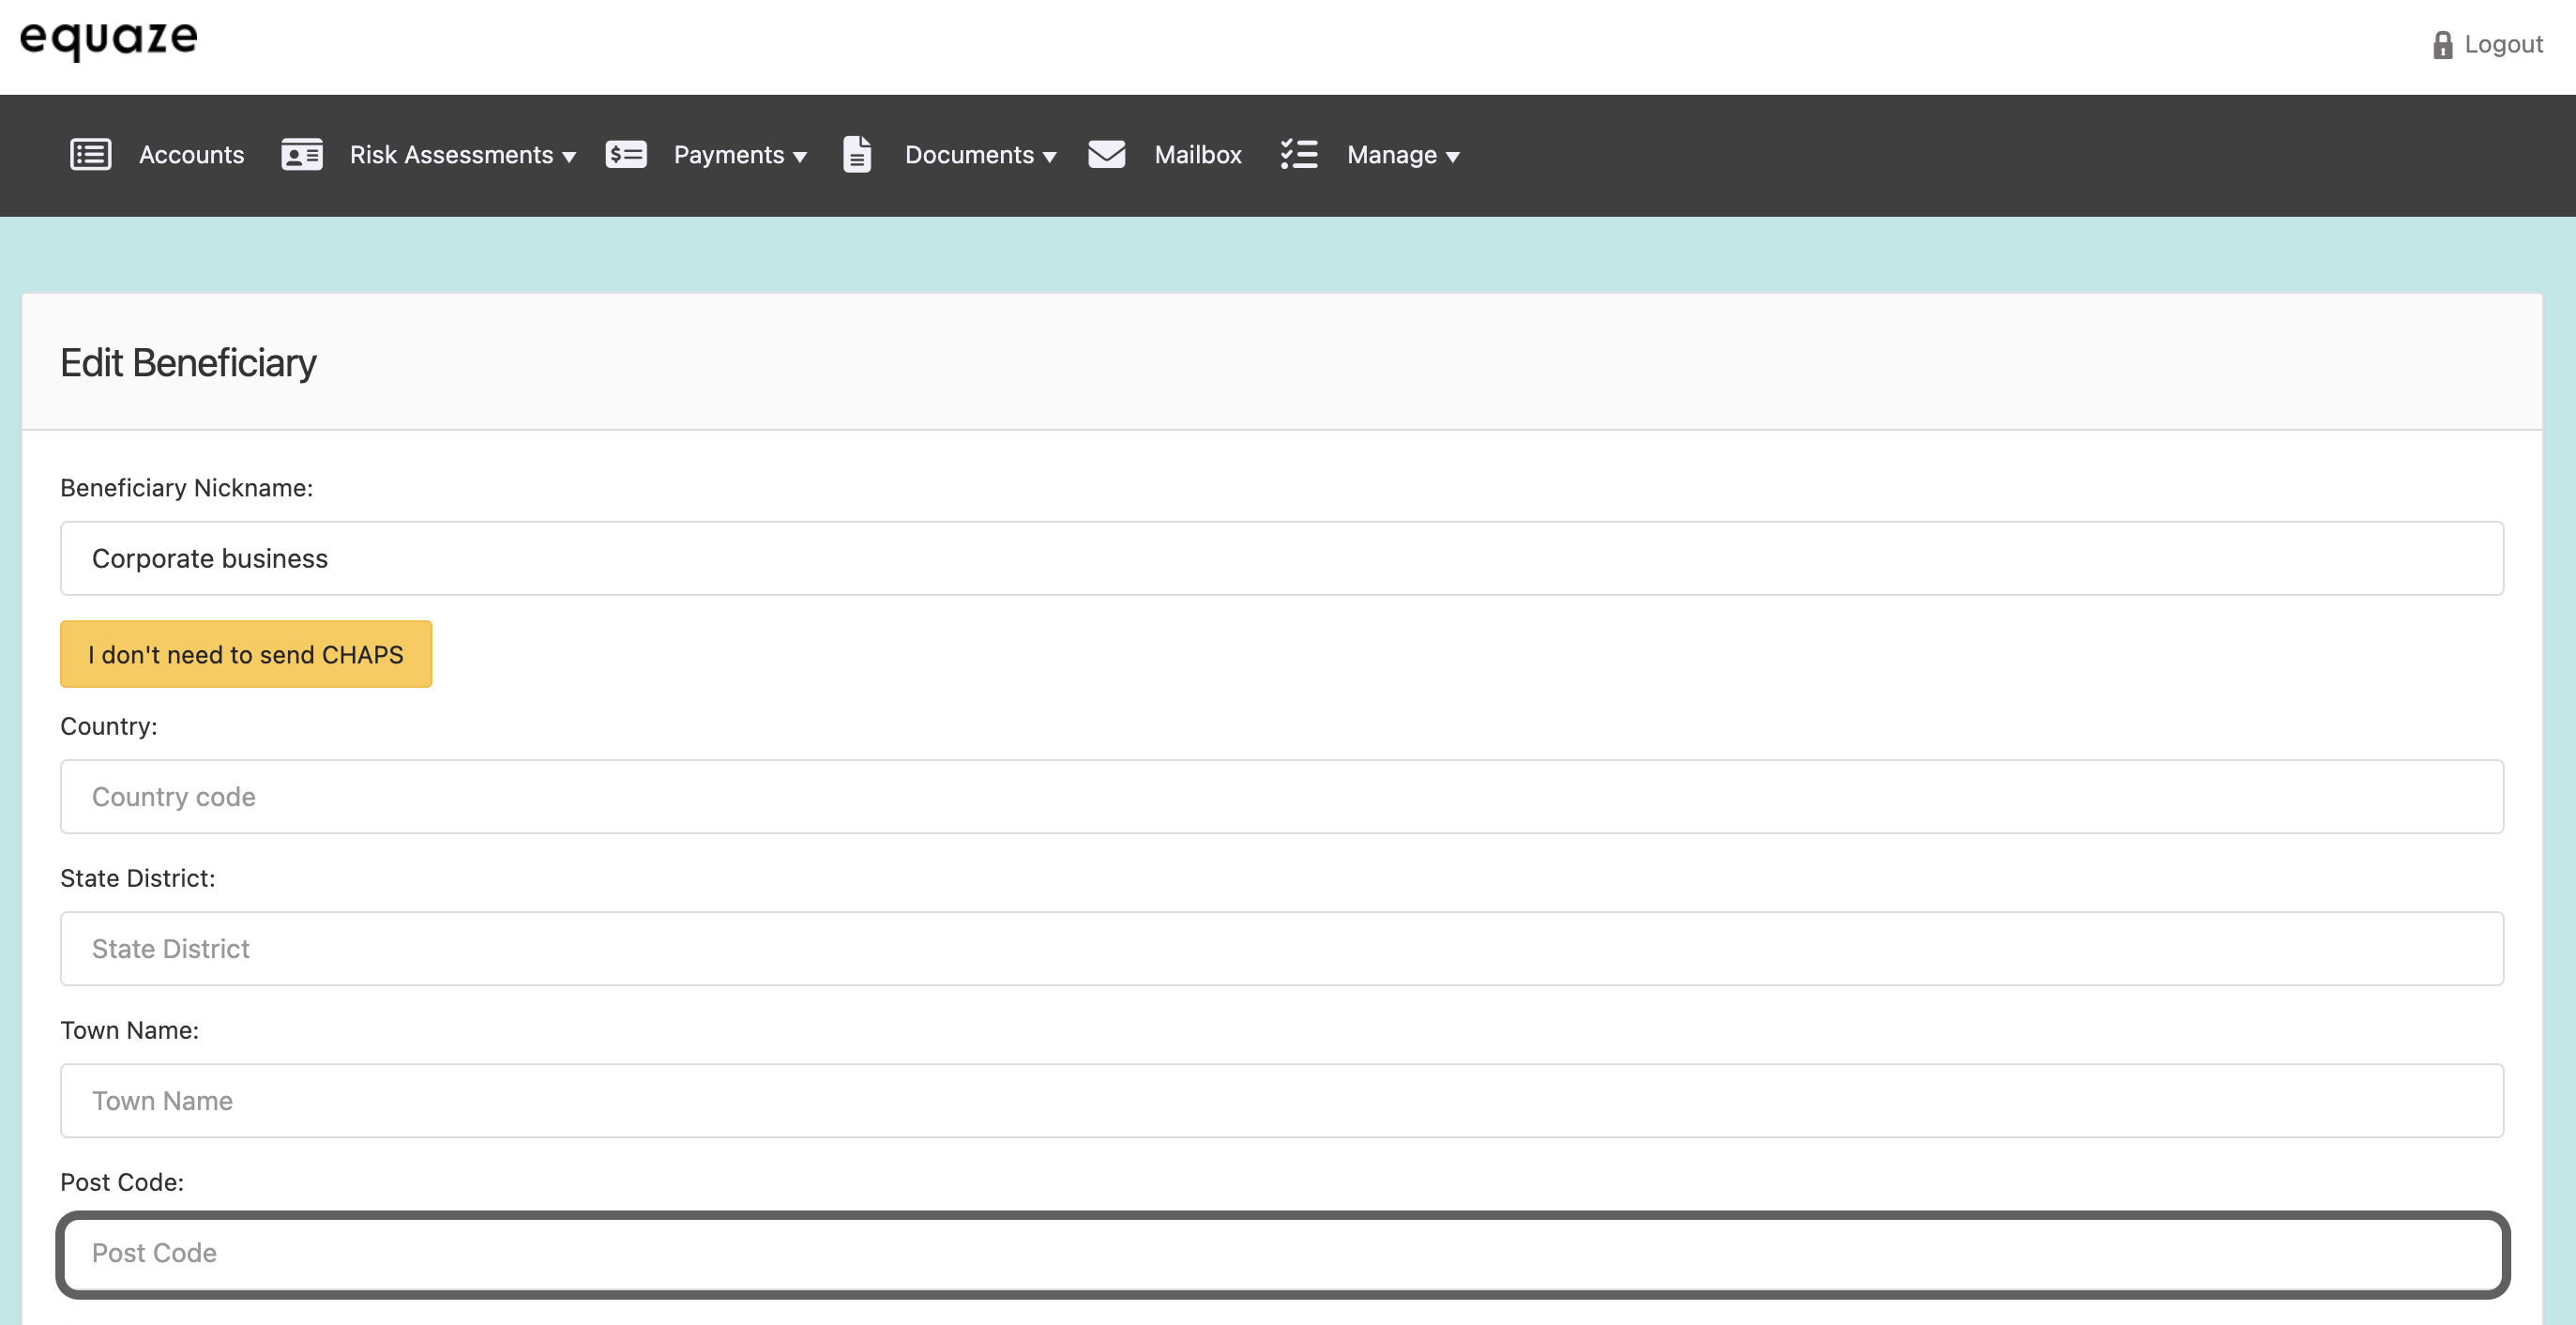
Post Code
Locate the “Post Code” field on the form and click on the “Post Code” field to activate it.
Enter the valid postal code for the beneficiary’s address.
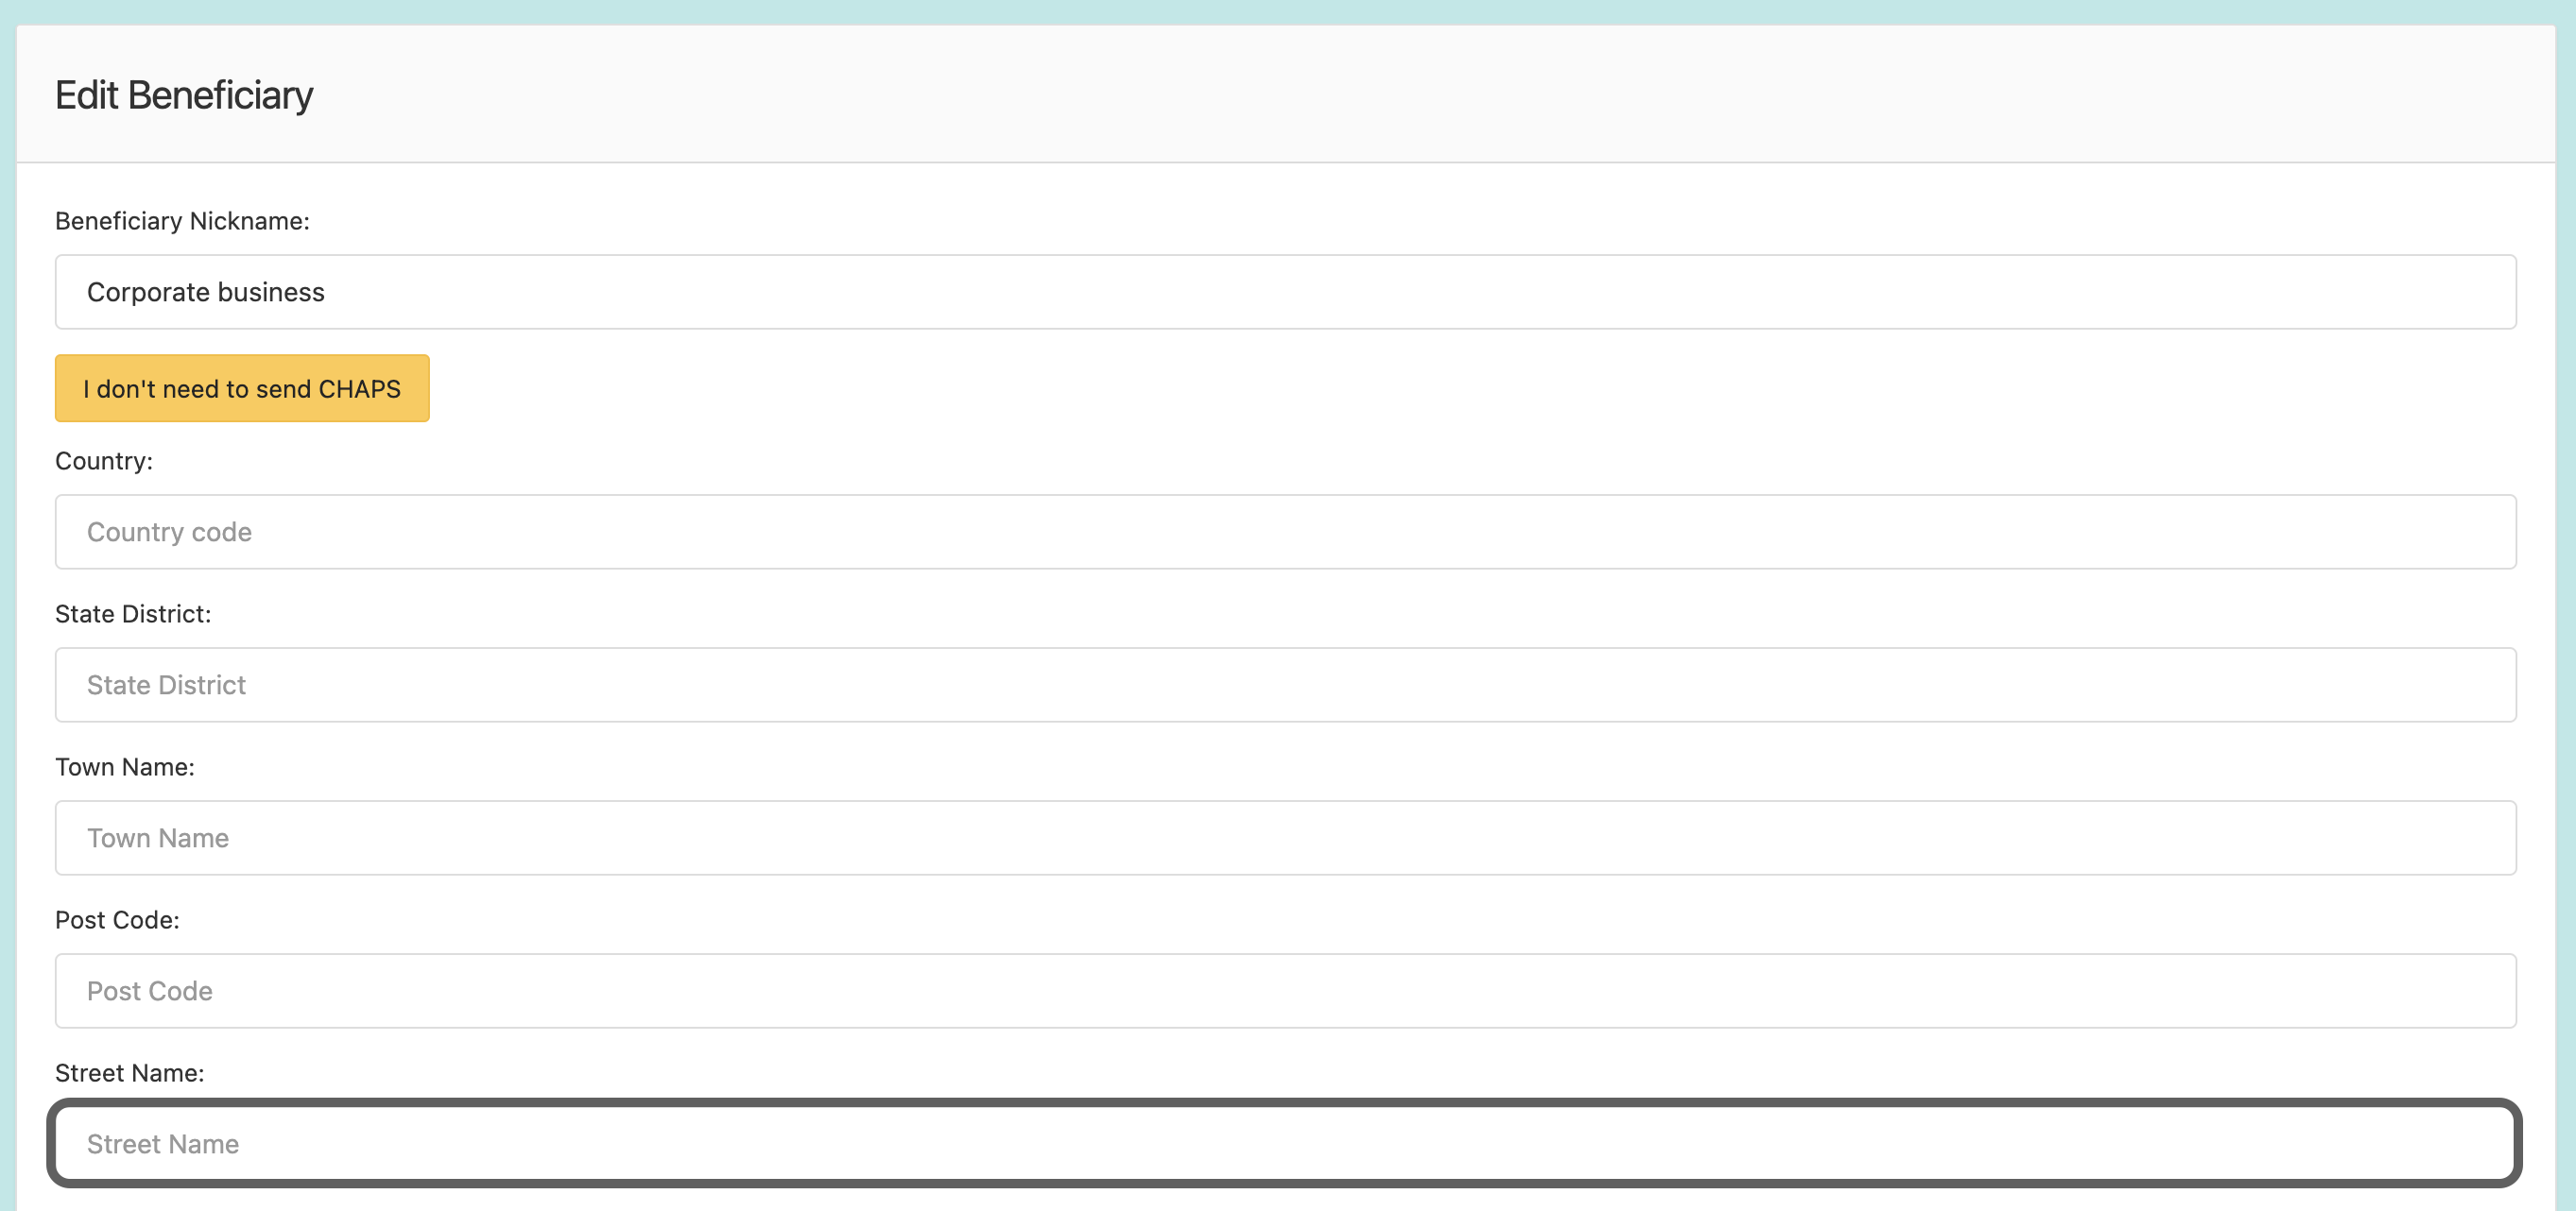
Street Name
Find the “Street Name” field on the form and click on the “Street Name” field to activate it.
Input the correct street name related to the beneficiary’s address.
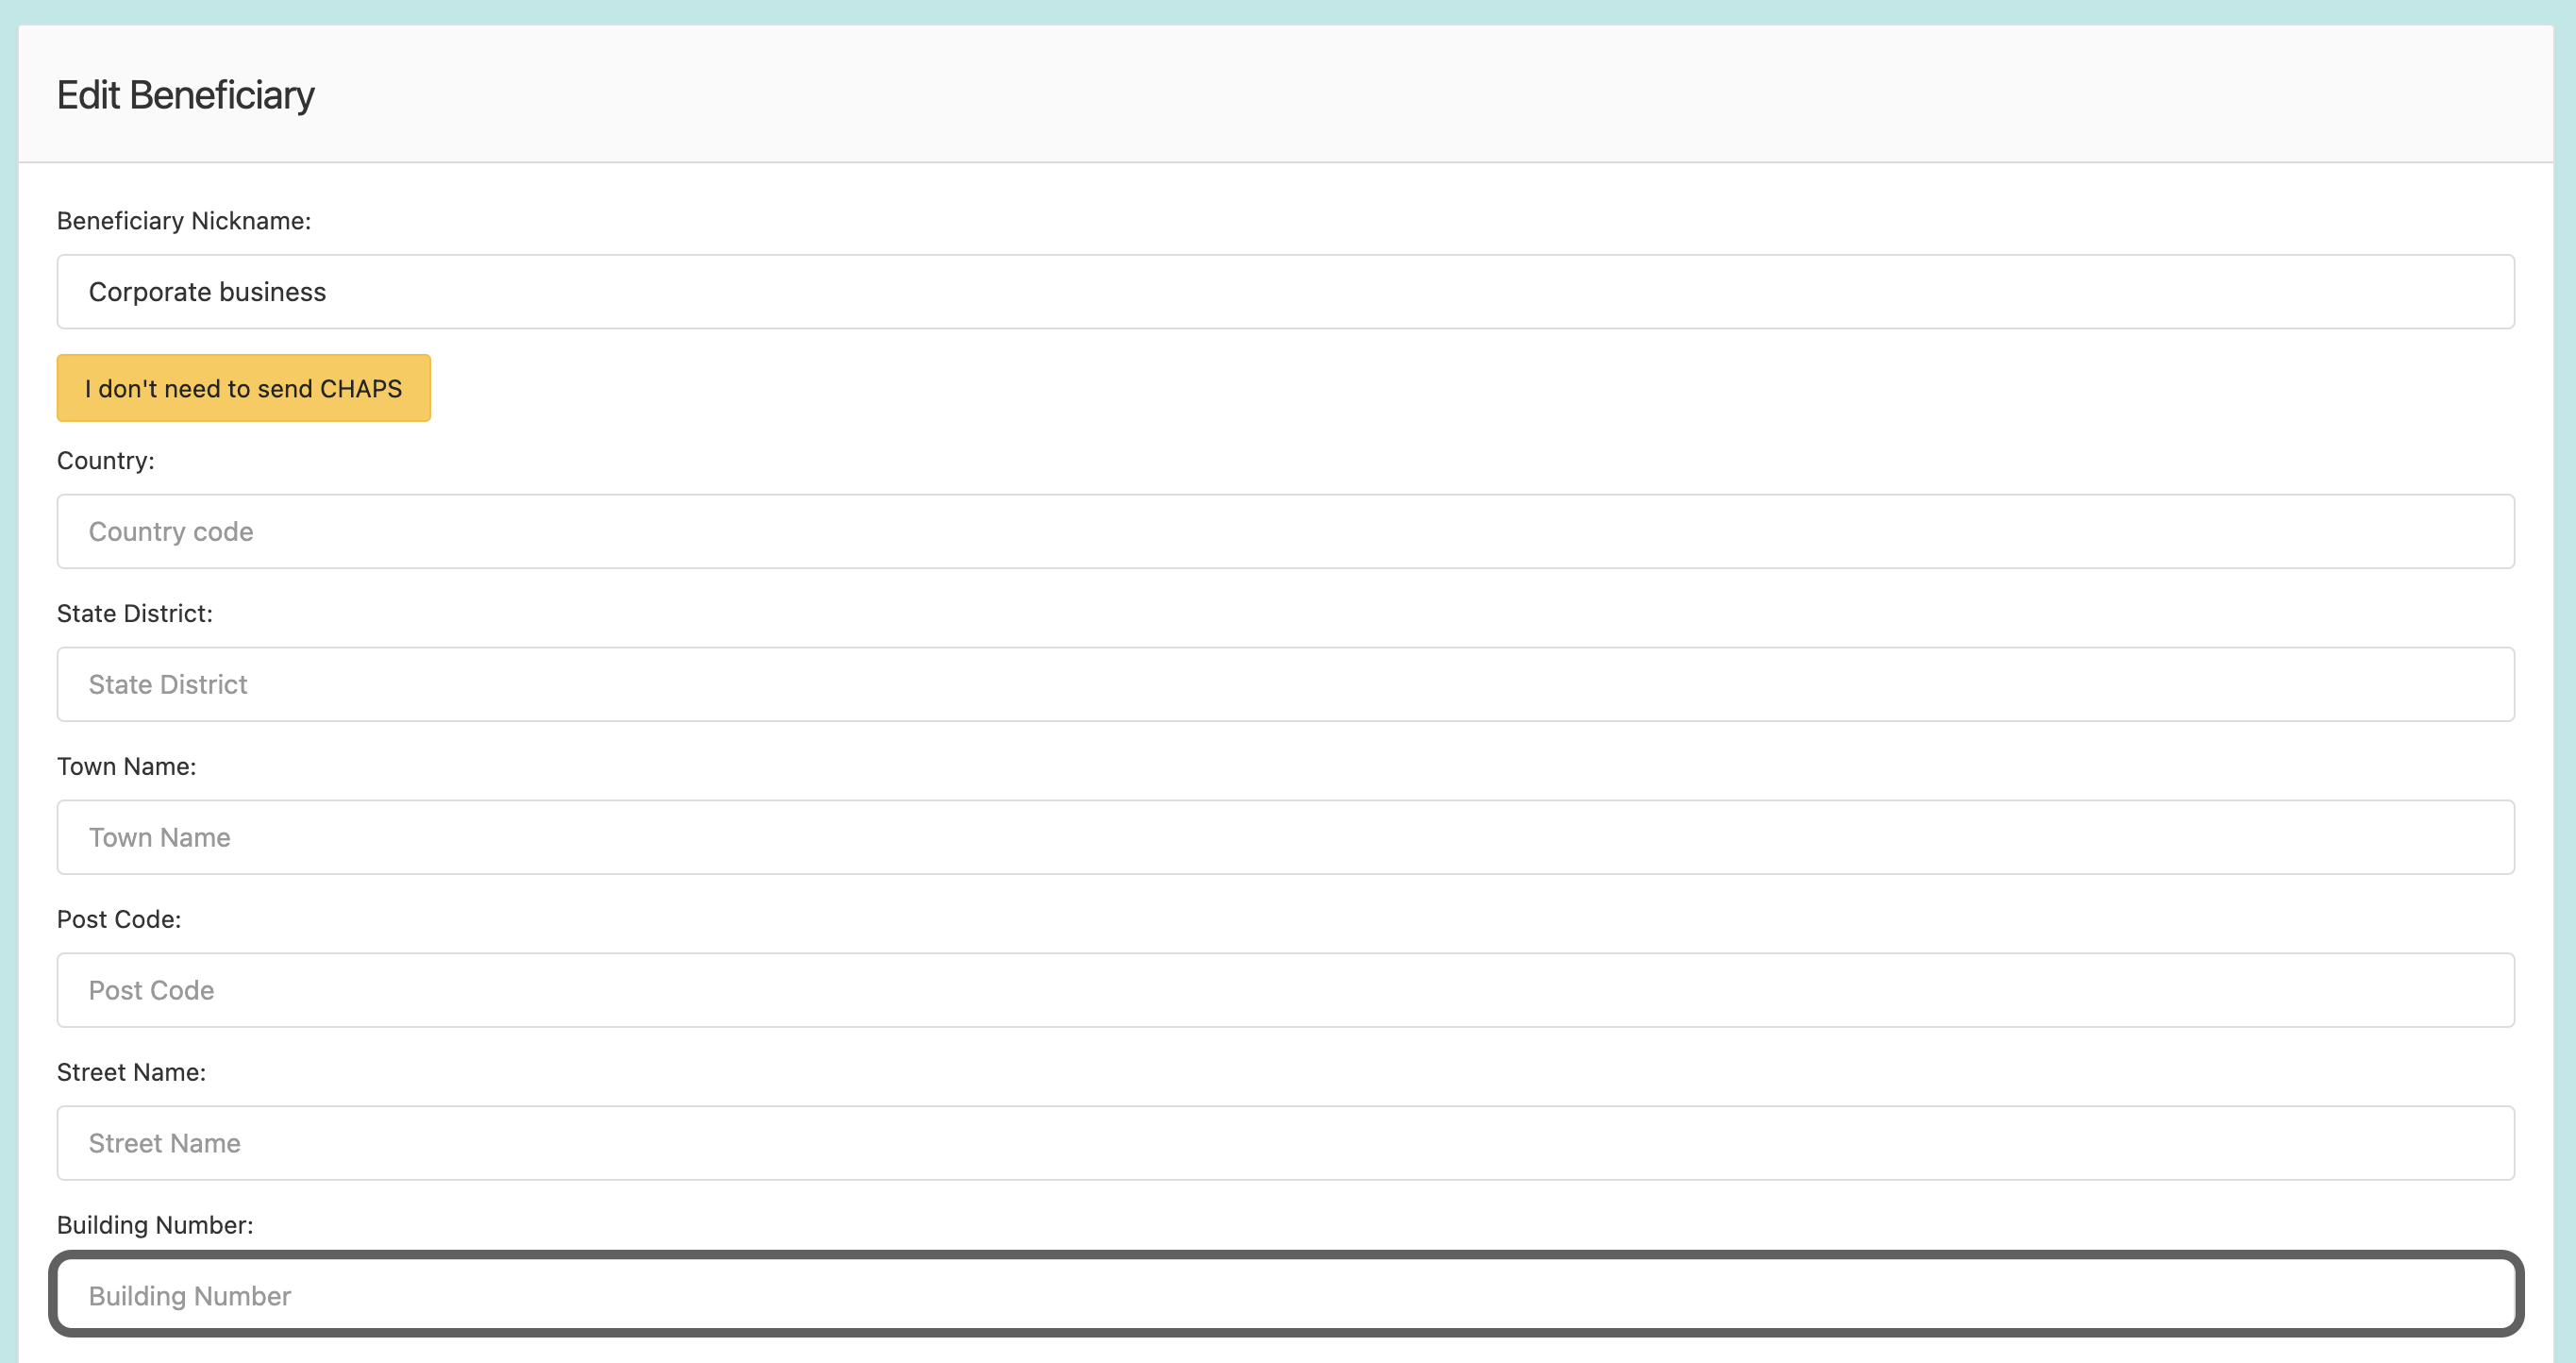
Building Number
Identify the “Building Number” field on the form and click on the “Building Number” field to activate it.
Enter the valid building number associated with the beneficiary’s address.
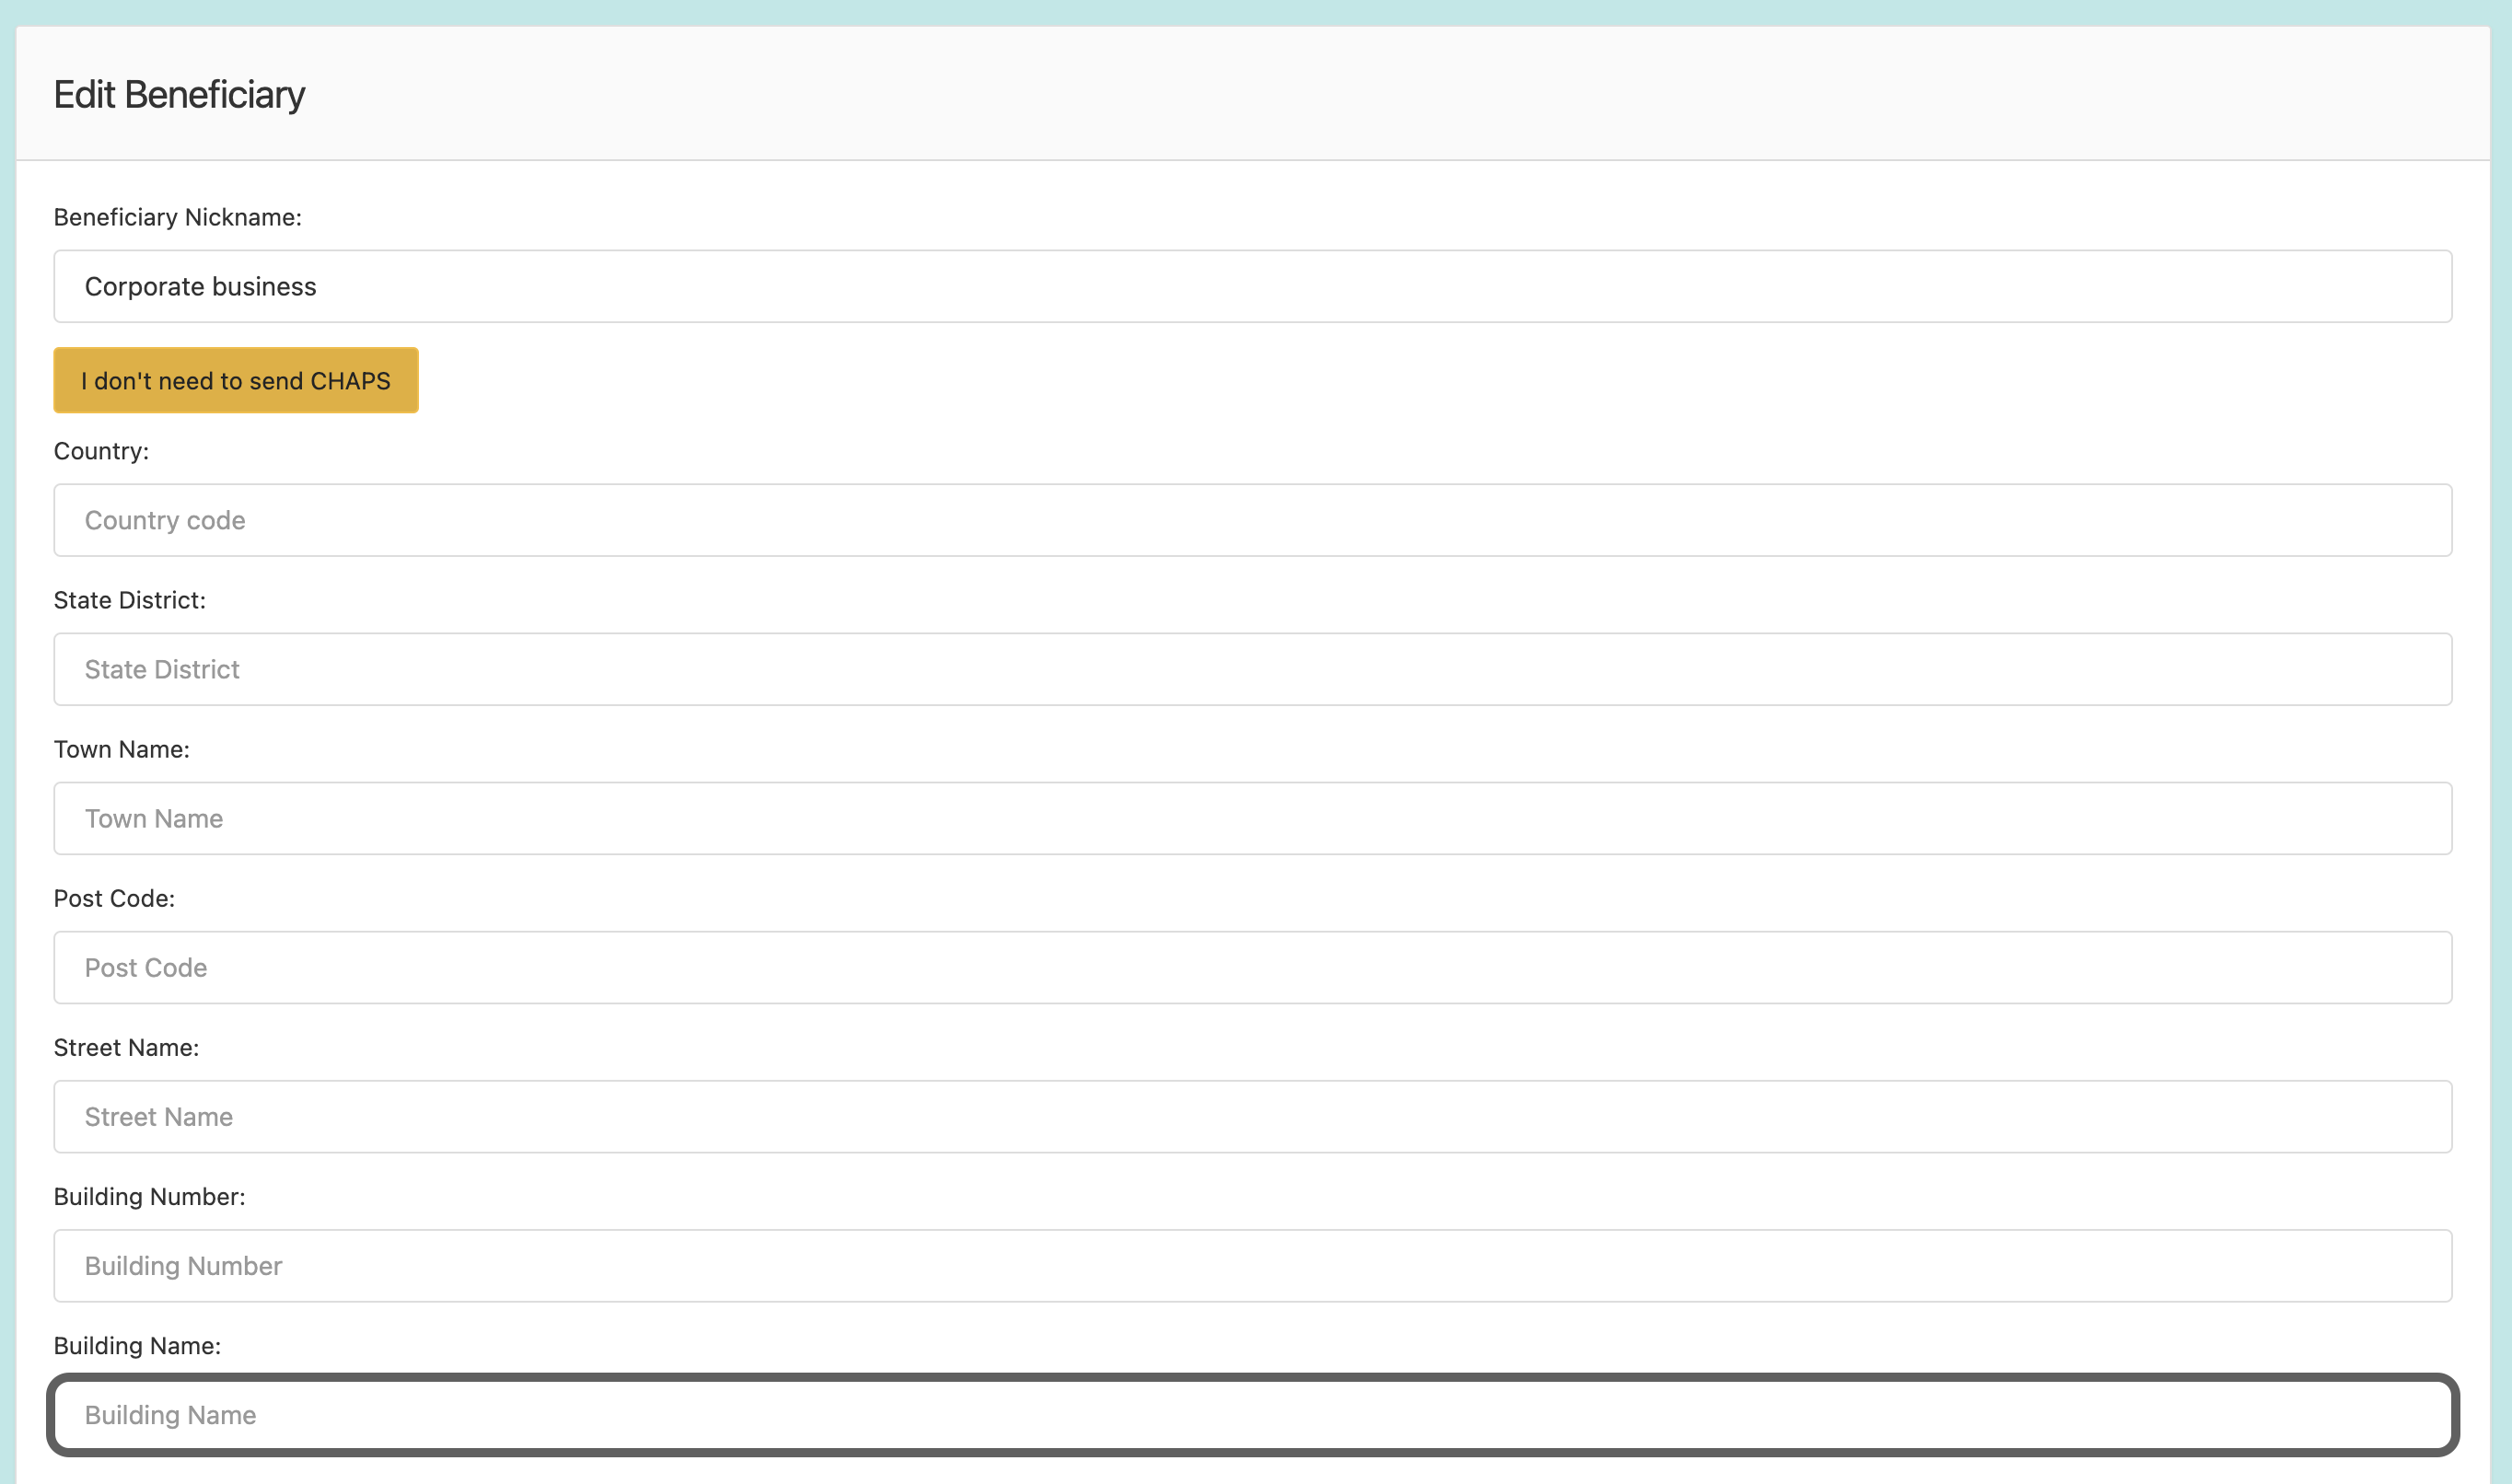
Building Name (if applicable)
Locate the “Building Name” field on the form and click on the “Building Name” field to activate it.
Input the correct building name (if applicable) for the beneficiary’s address.
- Ensure that all fields marked as required are filled in.
- If you’re unsure about any details, refer to official documents or contact the beneficiary for accurate information.
Saving the Address
Click the “Continue” button to save the entered address.
- The button is situated on the right bottom of the page.

- The “Manage beneficiaries” page will be displayed.
By following these steps, you can efficiently add address details for beneficiaries within your account on the website.


